Friday, September 19, 2014

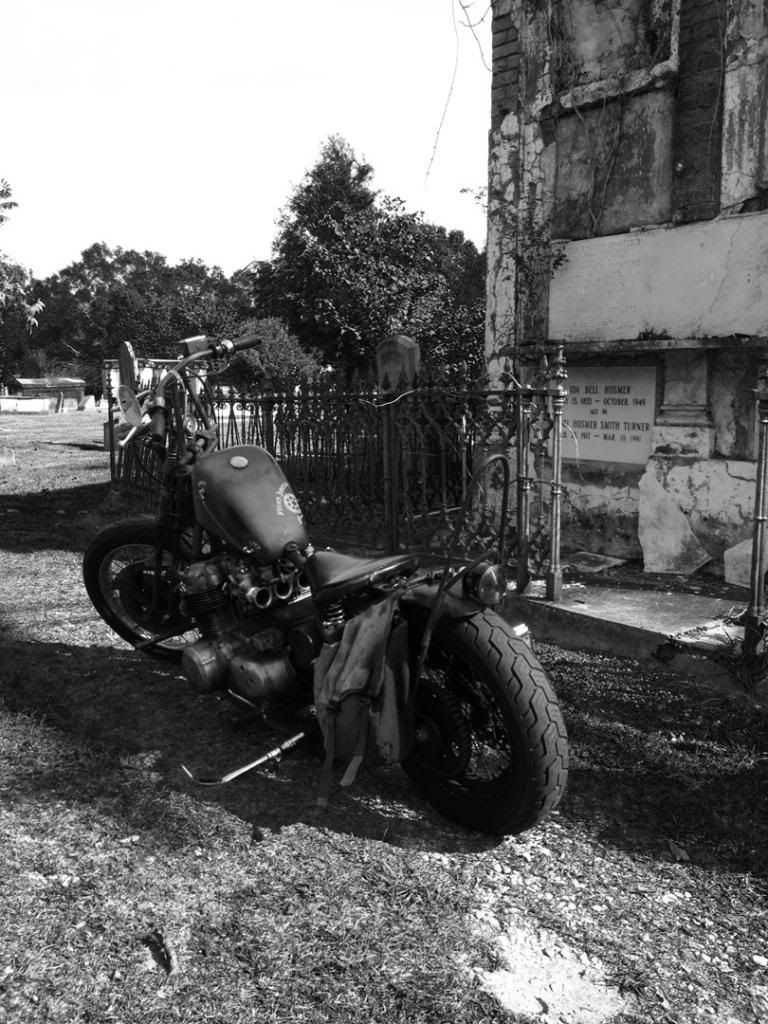
Tucking in your chop for a long winters nap


Welcome back all you little gear grinding, grease guzzling, chopaholics.  I know what you are thinking I dropped the ball and have left yall hanging.  I have but the old wizardy one has had to focus on a few things this summer namely paying bills.  But such is the life of those of us who grind away at life.  Now that things are winding down I have a few ideas for articles I would like to do.  I will be wiring the trike in a week or so and will feature that as well as the process of doing my paint on a rattle can budget.  In the mean time I thought I would do a quickie on a subject we all hate, winter.  Like it or not old man winter will soon be laying his frosty hand on much of the land and I am sure he has already way laid some of the north of the border brethren.  The question always comes up when first getting into motorcycles how I store one correctly for the winter.   


Step one get down and dirty.  Change that oil and check all fluids.  Make sure all systems are in the best possible shape.  This is a key to keeping things good while at rest. 


Step two is Clean it.  I mean give it a good bath.  I know many people may think why well all of that road crud can have things in it that will do bad bad things in the long run.  So it is best to get it off there. 


Step three fill er up. I know this sounds odd but really fill that tank and put some stabilizer in it.  When things are in use they tend to not get nasty problems like rust nearly as bad.


Step four close up openings.  This refers to the pipes and the carbs.  Little stuff loves to get in there this can be as simple as closing the choke and putting a bag over the pipe with a rubber band.  This will keep the creepy and crawly boogers out. 


Ok this last part is a subsection depending on which kind of guy you are.  There are two for this part.  There is the I have easy access and plan to crank the bike once every week or two to keep things fresh and moving and the I actually have to store it guys.  For the first you can probably skip pretty much everything and be ok however maintenance is still a good winter habit and I would suggest getting a battery charging device like a battery tender to keep it fresh and ready.  Small price for sanity. 
Now if you are the second kind there are two steps I would suggest you consider.  First pull your carbs and clean them.  This new gas most of us get is shit.  It likes to break down and do really awful things.  Cleaning fresh liquid gas from carbs is so much better than letting it set up and become something more again to roofing tar.  Just pull em, drain em, blow out passages with compressed air, and put em back on.  Another step I take is remove the battery.  Lots of people will leave it in that is their deal but I have some truly nasty things happen because of batteries while something is being stored.  My philosophy here if the battery isn’t in there it can’t do nasty things.  Problem solved.  Of course there are many other things you can do as well be these are the basics that will make that first good riding day so much better come spring time.

Saturday, May 10, 2014

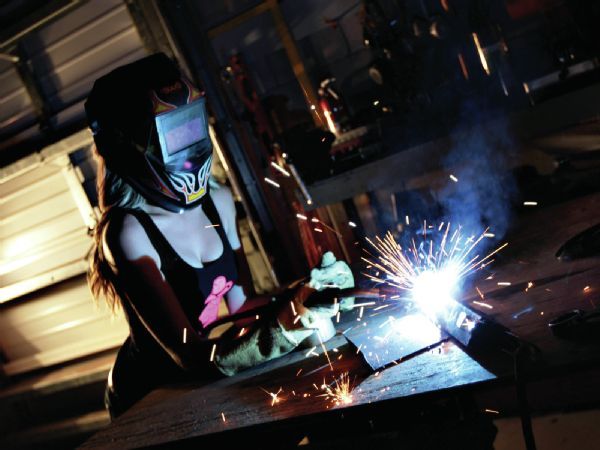
May Garage Girl Veronica Gomez


Getting Ready to Roll


Hello guys and gals it has been a minute since I was able to post.  The life of the weird and wonderful wizard at times gets a little too weird for even me lol.  But I digress I sat her pondering what to write about and it came to me.  As most of our country shakes or has shaken off the chill of winter it is time that we will all be hitting the road.  As you know our main focus is the build but we all need to remember that a huge part of riding, building, and enjoying motorcycles is maintenance.  Oh there it is that dirty word.  Assuming that you did what you need to do in order to protect your scoot for the winter there are a few steps to take to make sure your first trip out you spend more timing riding the bike than pushing it home.  Now is the perfect time to do those little checks.  No matter how much prep you did winter is always the perfect time for those garage gremlins to get at your ride.
1.       New gas.  This is a no brainer in particular with the ethanol in it now if you have much of winter at all the gas that set is gonna be funky.  Also not a bad time to spend the extra buck and get a new fuel filter.  It is amazing how many times a gummed up filter will leave you on the side of the road.   
2.       Fluids, check that brake fluid if you happen to rock a liquid cooled check that coolant too.
3.       Tune up.  In the weeks leading up to riding weather take the time to tune it up spark plugs, oil change with filter. 
4.       Check them tires and lube that chain.  Not only is it obvious that there is danger involved if either of these fail your ass is doing the walk of shame. 
5.       Cables this is often over looked but for a few bucks you can get some stuff called cable lube and trust me you spray it in there your cables work better and last longer  the good folks at http://cycleonemanufacturing.com/ carry it < and most anything else you need, its good stuff.
6.       Brakes.  Ckeck em for warping wear and function.  Riding is only fun if you can stop when you need too.  Injuries aside many a pair of clean skivvies have been ruined by bad brakes.
7.       Ok so assume everything checked out good on these basic steps if you are a home builder now is also the perfect time to double check nuts and bolts.   I know we all roll to the shop born to be wild playing our head and think we are the next Indian Larry but guys we all forget shit.  One missed bolt now is the difference between hmm I wonder how I missed that and fubar city.
I will leave it at that and say that soon I plan to do a write up on a few of these things.  Some guys might say oh come on it so basic but you got to remember we all learned at some point and no one is born knowing everything.  Until next time keep those sleds tuned and show them some love they will love you back. 
Wizard

Sunday, March 30, 2014

Shop of the Month Wabi Iron Works


Hello to all you greasy gremlins out there in garage land.  This month I want to bring you a builder / shop profile that is a little different.  This one is different because the builder has no clue he is being featured.  One of my best friends and fellow Honda Chopper Head Clint Ward better known as Motorhead in the HC.COM community has start a new business venture called Wabi Iron Works.  Clint has taken a huge leap so many of us dream about but are too big a chicken shit to actually do.  He is a solid guy and I think that he definitely has the skill to make a go of it.  In fact the killer bars on my trike happen to be the first bars that he made for anyone other than himself.  The discussions about these bars were how we got to know each other and become friends.  Yall remember that when he becomes a internationally known build I have the first bars lol.  So in the spirit of giving a brother the props he deserves as well as bringing you info about the coolest up and coming shops around I present Wabi Iron Works.  You can check them out on the web at  wabiirionworks.com or if you are local to the NOLA area give him a call he will hook you up with everything from parts to complete builds it is up to you.   I hope to bring you future updates and eventually a feature on his first shop build.  Oh yeah I put that out there so he can’t say no.
Till next time keep those wheels turning and wrenches spinning.
Wizard

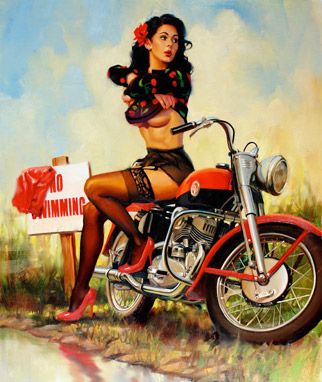
March Garage Girl

I thought this month we might do a little pin up style art for the garage girl

Saturday, March 1, 2014

Dished Tank


Hello to all you grease cover gear heads out there across our fine but frigid nation.  In keeping in line with our hands on tech I decided to document my latest project.  Now I think we can all safely say that a dished in gas tank is pretty cool.  They have been around for a long time and found resurgence when Indian Larry featured them on some of his iconic biker build off bikes.  It is really one of the easier things to accomplish and there are a few ways to go about it.  One is to cut the sides out and flip them right to left weld em back and there it is.  The other way and the one I chose was to hand hammer in the sides.  This in and of itself can be done in several ways this is just mine.  I need to start by saying also that this can be done with crisp lines or a more gentle rounded transition.  I wanted the more curved and round look and I will say also that was not as easy as it sounds it takes a lot of patience to make sure that rounded edge stays round particularly in the corners.
So first things first I started with a single cap mustang style tank.  Pretty much one of the standard issue chopper tanks out there.   

The actual process would be much the same if you were doing this or if you wanted to do something like knee dents in a cafĂ© tank. 
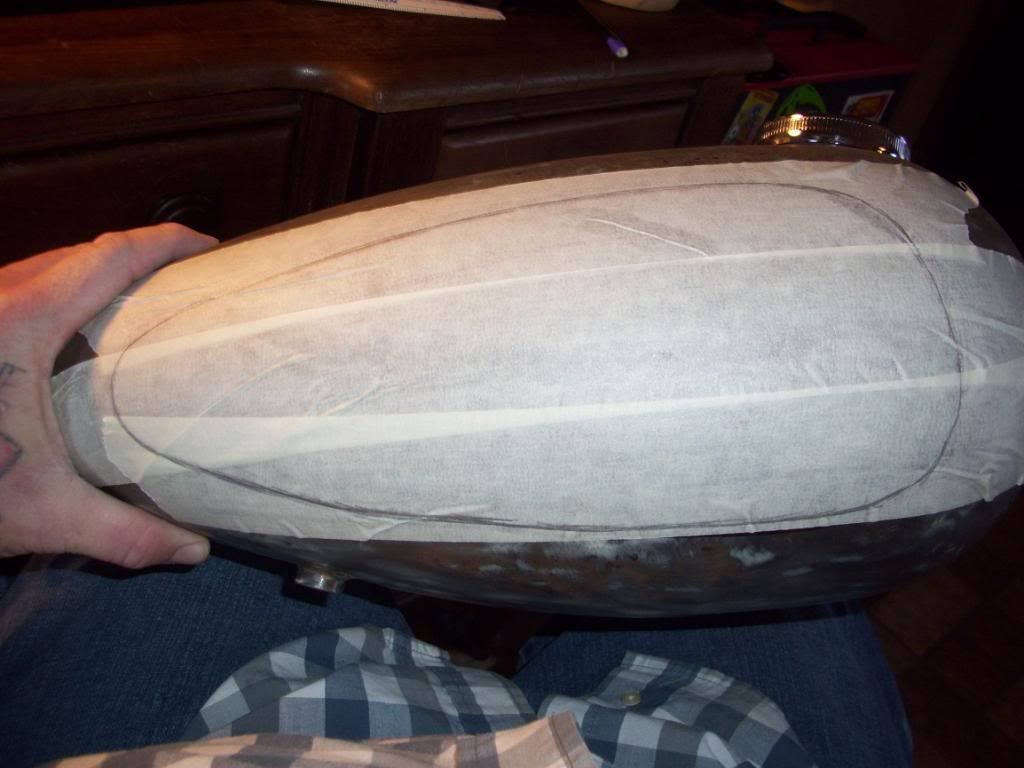
I start by covering one side of my tank in painters masking tape be sure you overlap the pieces this is important later and draw out my desired shape.  I go through a few sketches in pencil then trace my final design in sharpie. 


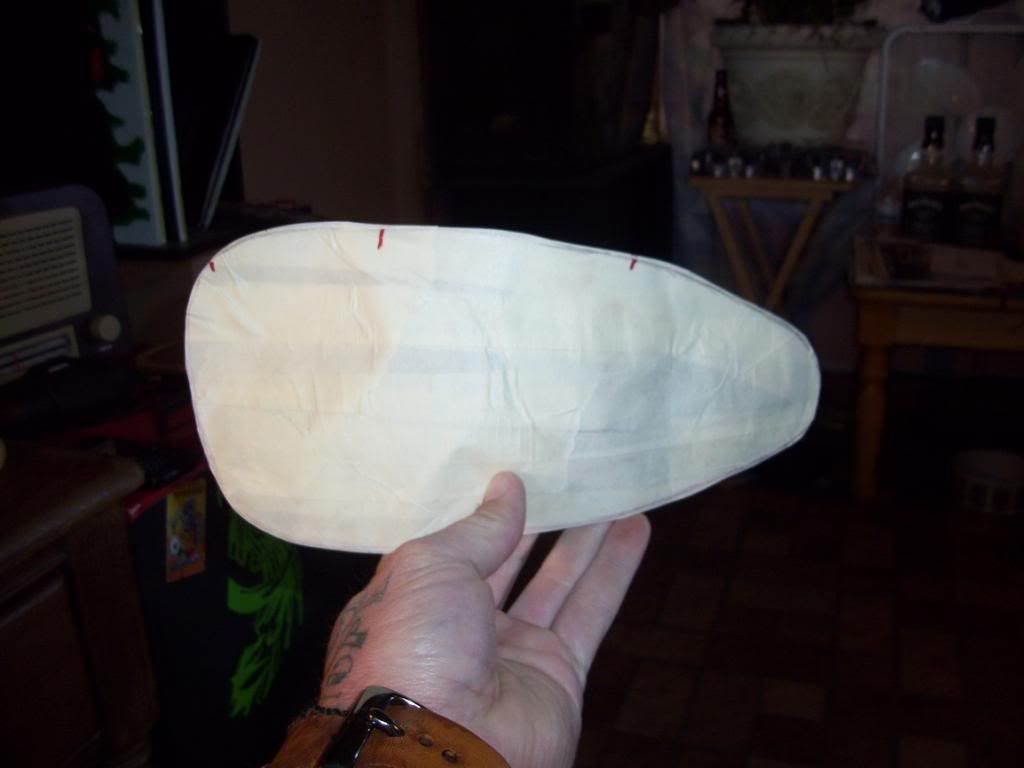
Once this step is done cut the shape out with a razor knife.  Since we made sure to overlap we can now remove it in one solid piece and presto we have the template for the other side. 


  At this point trace the inside edge of the original masked side so you have a good out line when the tape is removed. 
I take a soft measuring tape the kind your grandma used when she was sewing and measure some key locations along the pattern.  I like to measure form the tunnel and lay out reference marks.  This allows you to make the corresponding marks on the opposite side and line up the pattern.  Once all the marks are in place lay you template on the tank and trace.  Now both sides are marked.  Remove your tape and head outside. 

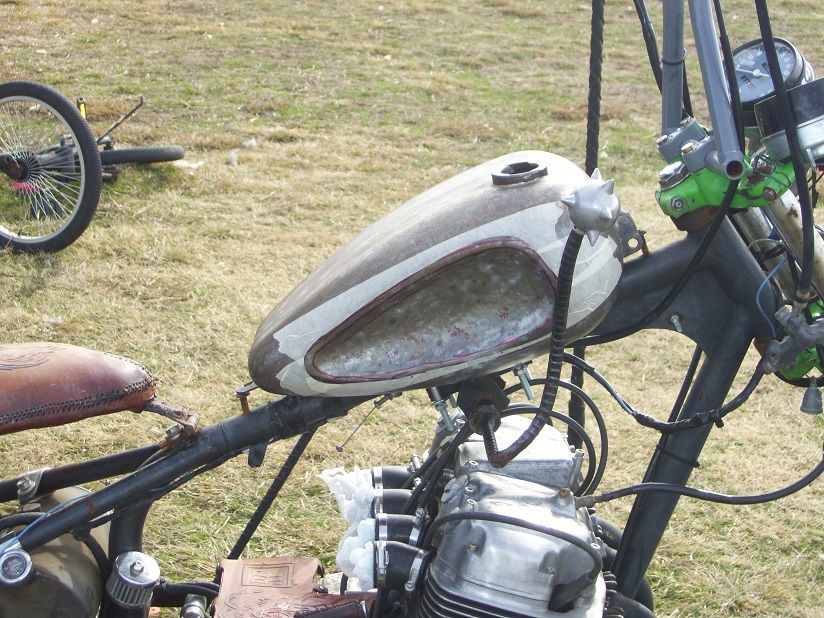
This next part is just what you would think start hammering away.  I start with a large rubber mallet in the center and work my way out to the marks.  I like to do my finish work with a variety of ball peen hammers.  Just take you time work slowly and use a firm hand but don’t overdo it.  You are shaping a tank you are not the Mighty Thor defending Asgard.  Pretty soon it will take shape.  Then flip it over and do the same.  

 At this point you have a couple more options.  You can some body filler and work the sides and make it smooth as glass or as I chose you can leave the pings visible.  I am going for a very gritty feel over all so that works well for me.  That’s it pop the top on some rustoleum blast on a coat or ten and you are good to go.  Here are a couple of shots of where mine is at the moment.  It will be getting far more work ( think pinstripe)  but this is the start of a patina look I am doing. Most of the time I am not a fake finish kinda guy however on this project I am using lots of old parts so I want to match things rather than mix them. 

Remember any project is doable as long as you get up and do it.
Till next time keep on keeping on Wizard.