Wednesday, March 4, 2015

Checklist and Shakedown Runs


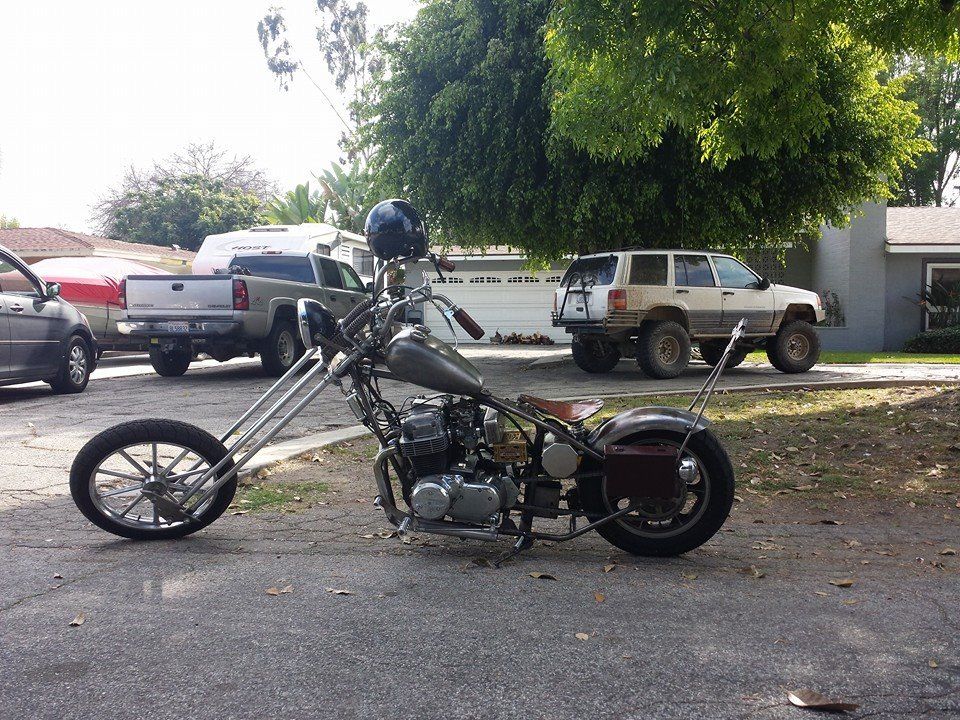
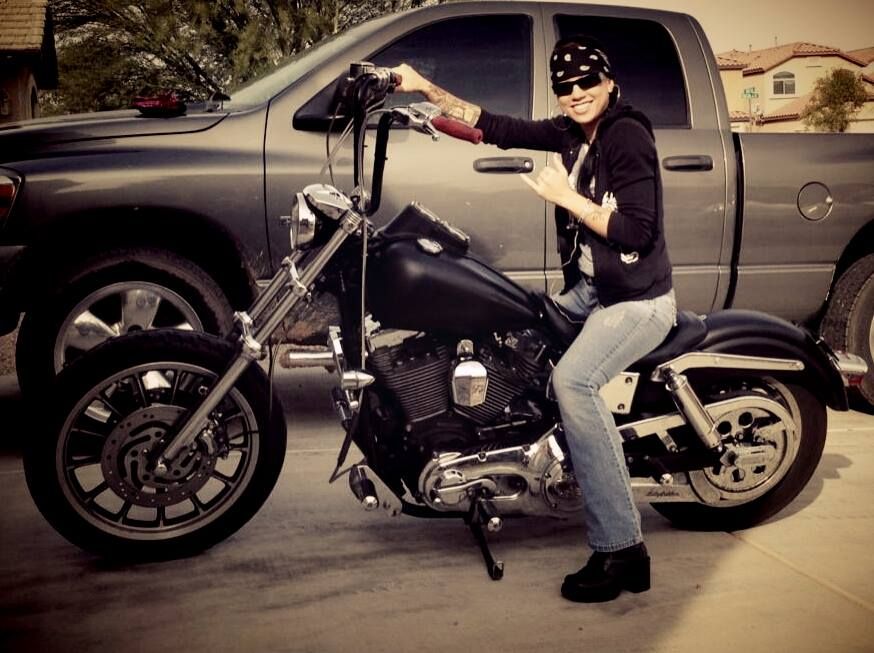
In this installment we have a new addition to the Wrench Junkies Roster.  Please welcome Mr Stephen Martin also know as PraiseCaster.

                                                                         The Man
 
                                                                      The Machine


     Checklists and Shakedown Runs.

I have in the past, built dozens of 2 and 4 stroke dirtbikes, and I learned my lesson about checklists at test runs back then: When the rear axle slides forward and the chain jumps and tears up a lot of stuff, it’s a lesson ya wont forget.
So on my first Chopper Build, before I ever turned a wrench, I had it burned into my brain cells:
Checklist-checklist-CHECKLIST!
Shakedown Run-shakedown run-SHAKEDOWN RUN!
The Checklist:
So as soon as I began wrenchin on my chop, I had my checklist, and it was monumental! Well, monumental compared to my dirtbike builds. But I visited my checklist several times each wrenching session. When items where completed, I checked em off. And when needed, I added more to the checklist. It was a living document during my build.
The checklist saved me a lot of time and frustration. While my memory is good, it is not flawless. A checklist, if properly executed is flawless.
Once every item on the checklist was finally checked off, and no more items where to be added (and I triple checked both, just to be sure), it was time for the next phase:
Shakedown Runs:
Now, I had heard several “interesting” (flux between entertaining and WTF?) stories of rides that transpired without sufficient (or non-existent) shakedown runs.
One story that I read on a chopper build forum, just stands out in my mind.
A first time builder put together his dream Bobber. He just just went on and on about how easy it was, and how he had zero experience, and he did such a stellar job and would put his build up against more experienced “old ladies” (his endearing term he coined for experienced chopper builders), because they just whine and cry about every little detail and get to frustrated.
Well late one Thursday night, his moment arrived: A little past 11 pm, his masterpiece came to life! So once he determined that his baddest of the baddest-badass bobbers was sufficiently warm, he hit the streets with her.
He jumped on the busy town boulevard, and started grabbing gears. Stretched the motor out. Telephone poles whizzing past him like they where on a picket fence, and he is totally exhilarated! His destiny is secured! He will be remembered as a god amongs……. “KABLOOEY!”
10 minutes and nearly 4 miles into his inaugural ride, and his mighty steed is dead alongside the road.
Couldn’t be any of his work, he reasoned. Try as he might, she would not come back to life. He lamented that none of his friends with a truck where up to help him. So he began the long arduous task of pushing his broke-down sway-back all the way home. He vented how he just KNEW it was shoddy engineering from the OEM (Original Engine Manufacturer). “That” is what brought down his Davinci of Bobbers! And he would reveal that too us, after he recovered from the soreness after pushing his master-piece home…..
Three days later he updated the sad state of affairs:
His mag cover fell off. His front brake had nearly fallen off. One of his footpegs was about to fall off. He now had a tiny little fuel leak by the petcock valve. Some electrical wires where burnt, and there was barely any oil residue inside his oil tank.
That was just the initial post mortem of his build, and it got much worse: Basically, top end was wasted, half the electronics needed to be replaced, chain was so slack he was surprised it was still on…….
Now it’s just my opinion, but that is no way to “prove” your build. Slapping it together, no quality control, and flying by the seat of your pants is not a plan. It is a recipe for disaster. “King Bobber-boy” was lucky that was all that happened to him, and he lived to tell the tale. It could have been far worse. I’m glad that the worst he got out of it was sore muscles from pushing his bobber home.
He could have avoided a lot of that by using a checklist, and the step after the checklist…….
Shakedown Runs:
I admit it, I am anal-retentive about shakedown runs. The checklist assures that I don’t forget to tighten things down, add oil, check the battery, etc……
If the checklist is the written is the blueprint for my build, the shakedown runs are the tests. They verify that my build is sound, everything works as it should, and it can uncover weaknesses either in design or my execution of the build.
I execute progressive shakedown runs, and each shakedown run must achieve a pre-determined goal before proceeding to the next step.
First one starts in the driveway:
Clutch, brakes, throttle. I can do a quick adjustment on the clutch, check and make sure the brakes are engaging with no leaks or hardware acting funky, and the throttle/idle is set. As soon as step one is satisfied, I move to the next shakedown run.
One or two neighborhood blocks, then back:
Now at most I can only get it up to third gear, but I use the brakes at low speed, turn right and left, shift up/down, have someone spot-check to see all brake lights are working as I go by.
Pull it back into the driveway and check for leaks, oil level/appearance and for anything that might have come loose.
I usually do this at least three times, first time slow and easy, second time pushing it a lil harder, and the third time getting on it kind of aggressively both stops, starts and turns. Each time checking everything out afterwards.
Next step is to take her out for a mile or two. I pick easy, less trafficy streets, but where I can make right/left hand turns, get her up to 35-40 mph, and run log about 10 minutes running around on her. Then its in to check again, but this time I am putting the wrench on every bolt/nut I can access shy of a tear-down. I check the chain for tension. Look closely at the rockers/axle on the springer and make sure they are at the correct torque value.
Again, I will do this at least three times or more (depending if I am discovering issues: fix em and repeat).
Expanded Shakedown Runs:
It’s time to really put her into the real world now and see how she does.
I’m gonna log about 10 to 15 miles on her on each run. I am selecting roads that are not all smooth as glass. I want at least 30% of the roads to have what I call garbage bubbling up from em: Washboard, cracks/grooves, little pot holes, railroad track crossings, dips. I also have to get to speeds around 45-50 (with a few bursts/stretches much higher), and with traffic.
I am looking at about 20 to 30 minutes a pop on her during these runs. Stops. Starts. Lotsa turns. Fighting with traffic/lights. Real world stuff. The only thing not thrown into the mix yet, is freeways/highways.
Again, at least 3 times putting her through her paces and checking on everything after each run.
The Final Shakedown Run: Time to hit the highway!
Now this run I schedule with a friend or two. I’m lookin at a run at least 30 to 40 miles round trip with one stop in the middle. The middle is first check and the return is the last check. If she handles this one, I am done, and she is fully road ready! Time to clip the tether, and let her run free!
Now some of ya all might be thinking that all these shakedown runs are a bit excessive and over the top. Yeah, I will concede, it is a tad bit much. BUT, I am really learning the characteristics of my chopper. I am really getting to know her well. I know where she excels, and I know her limits. I get a good sense of how she feels when everything is running good, and when not so good.
Also, this is a confidence builder for me and my chop. I wont have any nagging doubts bouncing around my skull. No “what ifs?”, : “Did I tighten that?”. “Is this ok?”, “What about……?”.
Nope, I have put that all to bed.
Now besides the normal due diligence and observations, I can now enjoy my rides. Feel the wind rushing around me, and enjoy riding with my brothers without worrying if I am going to be the one making everyone stop on the side of the road, because I am broken down because of something I did not check……..


Tuesday, February 24, 2015

Feb Garage Girl

Hello and welcome back.  While I was scouring the internet for this months dose of awesomeness I came across this moths Garage girl Brandi Torres.  If you like the pics below be sure to check her out on face book  she has links to her sites.


Friday, January 23, 2015

Cafe Culture


Welcome back guys and gals the holiday season is over and for many of us old man winter has us in a death grip.  So these are the days that we kick back with a hot cup of coffee or a stiff drink and take a gander at the web for something bike related to fend off the winter blues. 


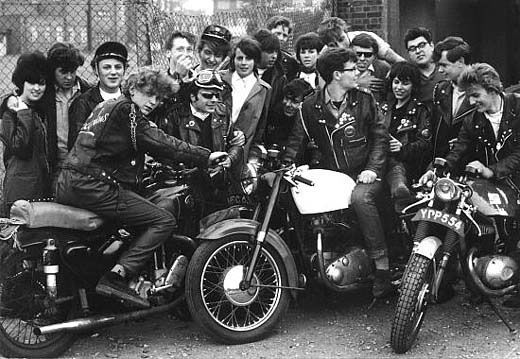
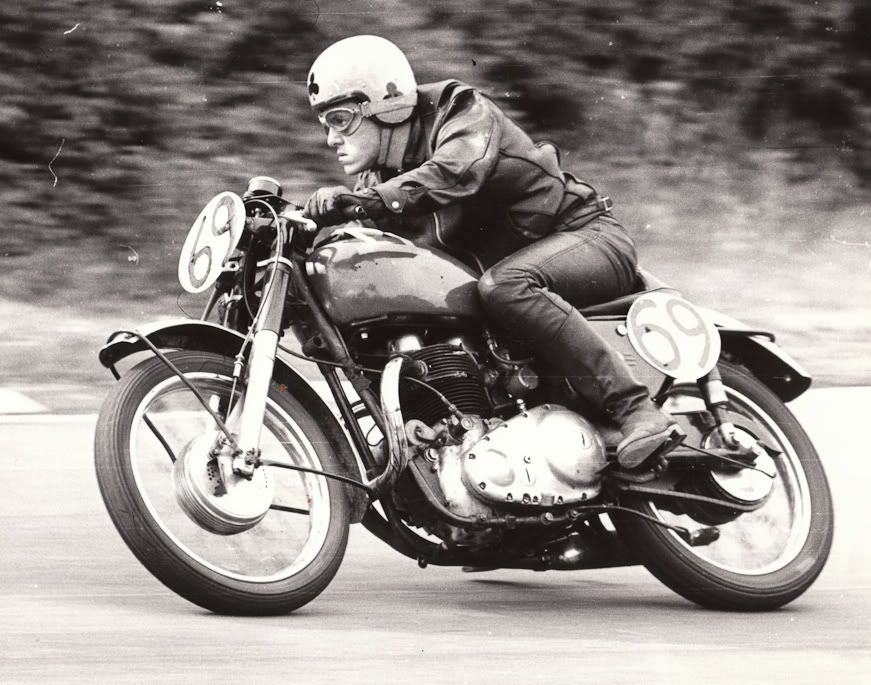
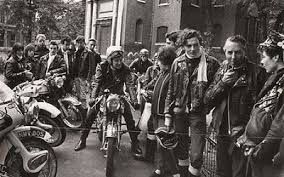
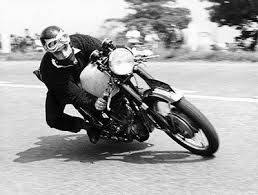
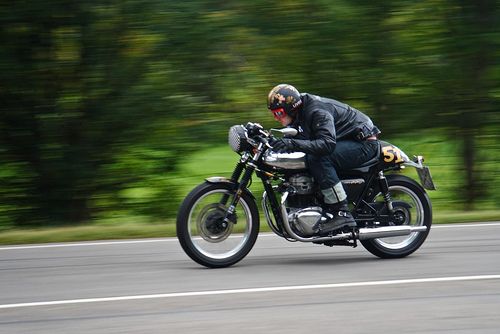
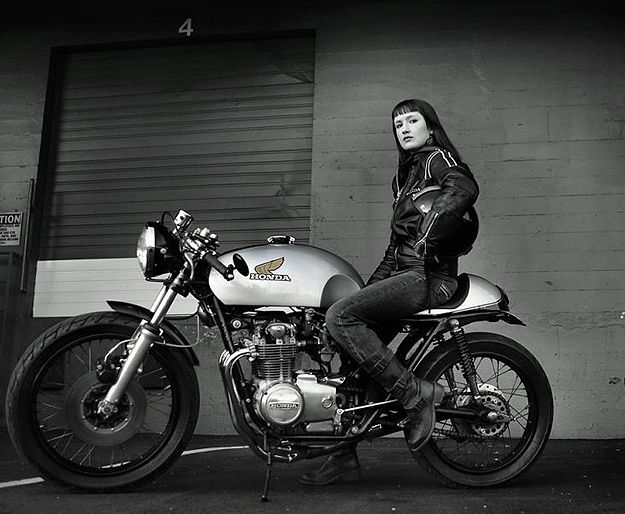
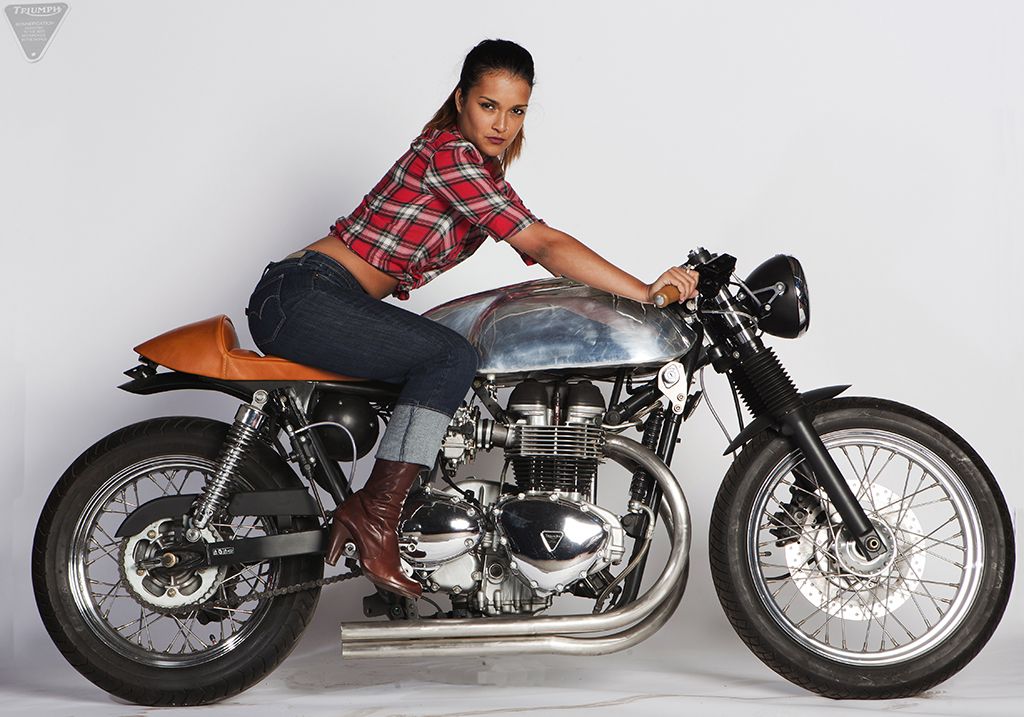
For this month I thought I might hop the pond for my inspiration.  I think it is high time we take a look at the bobbers nimble cousin the café racer.  Back in the good old days before custom motorcycles were mass marketed money machines there were two very distinct subcultures developing.  In the USA you had guys hacking and cutting bikes building the early choppers and bobbers that still continue to inspire us today.   In this same time period the chaps over in Jolly ole England where chopping up bikes as well but where Americans strived to blend function with a laid back style the Brits chopped for aggressive riding and speed.  


In the earliest form the café racer was a purpose built machine meant to tempt fate and chase the ton.  The young men who rode these where as likely to crash as to achieve the goals the so desperately chased.  For many I am sure this was a huge part of the draw there is no greater excitement than dancing down the line of life and death.  Each moment is a tempting of fate.  I once heard a man say that you a never more alive than you are in the moments you face death.  For many of the young men in these early days that is what motorcycles where about feeling alive.


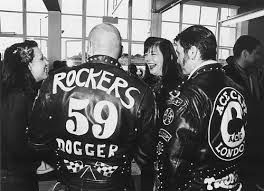
As is the case today many of the young men and woman felt that they did not belong to societies norm.  They did not fit the typical stereotype that they were expected to.  So they rebelled.  They rebelled against every aspect of the status quo that they hated so much.  They changed the way the dressed, talked, walked; every aspect of their life was an expression of social rebellion.  Out of this chaos a subculture was born.  It gave rise to such historic things as the Ace Café in London and the legendary 59 club. 


At the same time that these hell raising speed demons were ripping down the road another group of chaps that rode scooters and embraced a more clean cut image emerged.  These fellows were known as the mods.  They clashed sometimes violently with the café riding Rockers.  This clash has become the basis of stories and history and is now embraced in a modern way with the many Mods vs Rockers events we see springing up not just around the country but around the world.   


I think it is safe to say that when these young men were hanging out and chopping up and stripping down old Nortons and BSAs they never dreamed that their actions would create an iconic cultural embraced but hundreds of thousands and emulated for decades.  It serves as an example to all of us who humbly spin wrenches in a drafty shed, garage, or in my case even a barn.  What we do today may well influence generations to come so get out there live that dream and make it happen. 


Until next time get off your ass off the bench and go live life.  


Thursday, December 18, 2014

Making of a fatbob dash panel


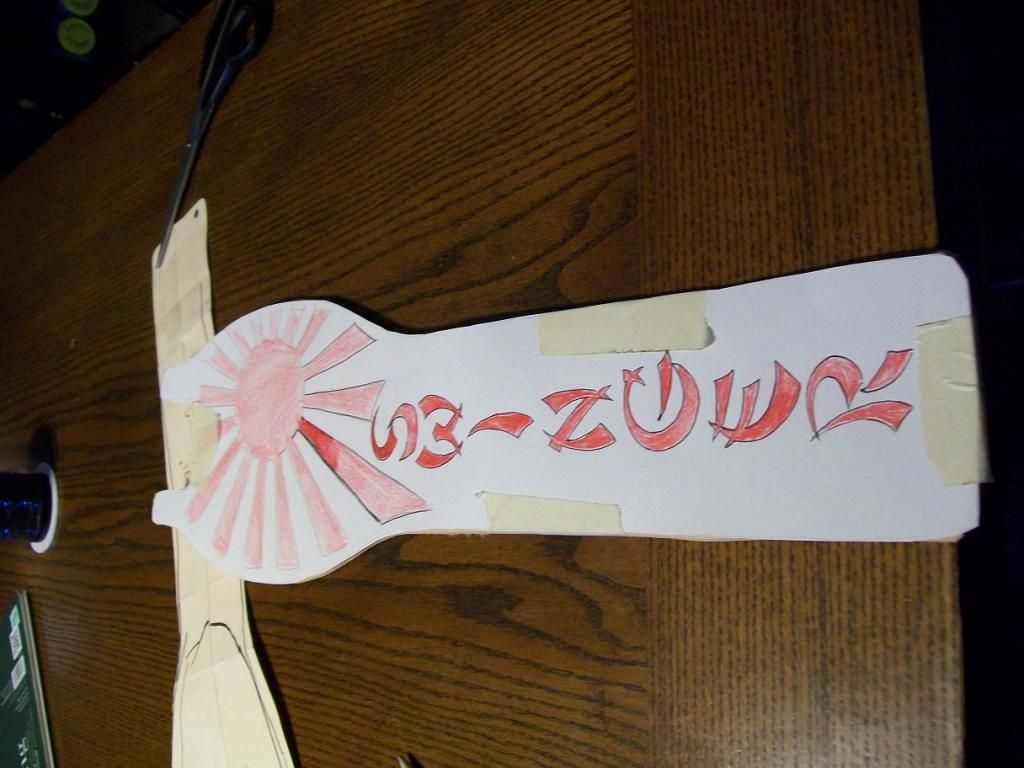
Welcome back to the wacky world of Wizard.  This is the first of what i plan to be several how to write ups on leather work. I have asked myself a few times what is it we love about motorcycles?  I have found that the action of building is as enjoyable to me as riding.  It is an act of creation when we take things in a raw form and we transform them into working parts of a machine.  With that in mind I have documented a recent project I was asked to do by a fellow Honda chopper head.  What I was asked to make is a tank panel or dash for split tanks.  This was fairly straight forward.  I received a pattern in the mail to work from with all the holes marked for the tie downs.  I want to say here that this makes all the difference with projects like this you must have a good pattern to work with.  Take a bit longer on this step and it will save you so much time in the long run. 

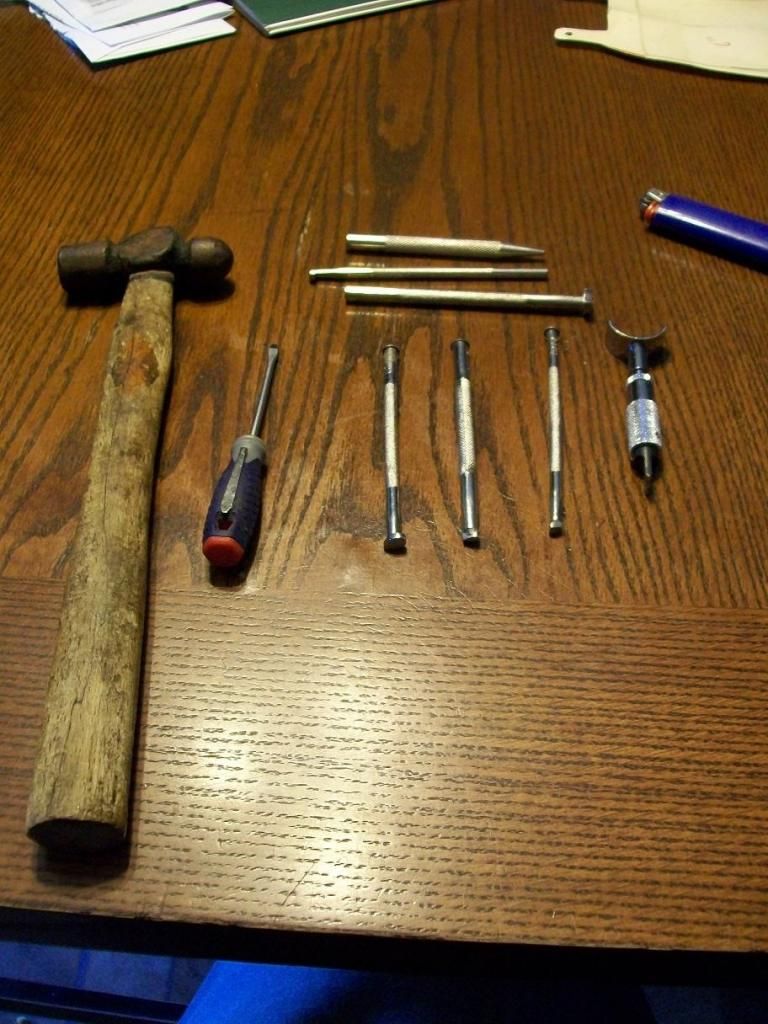
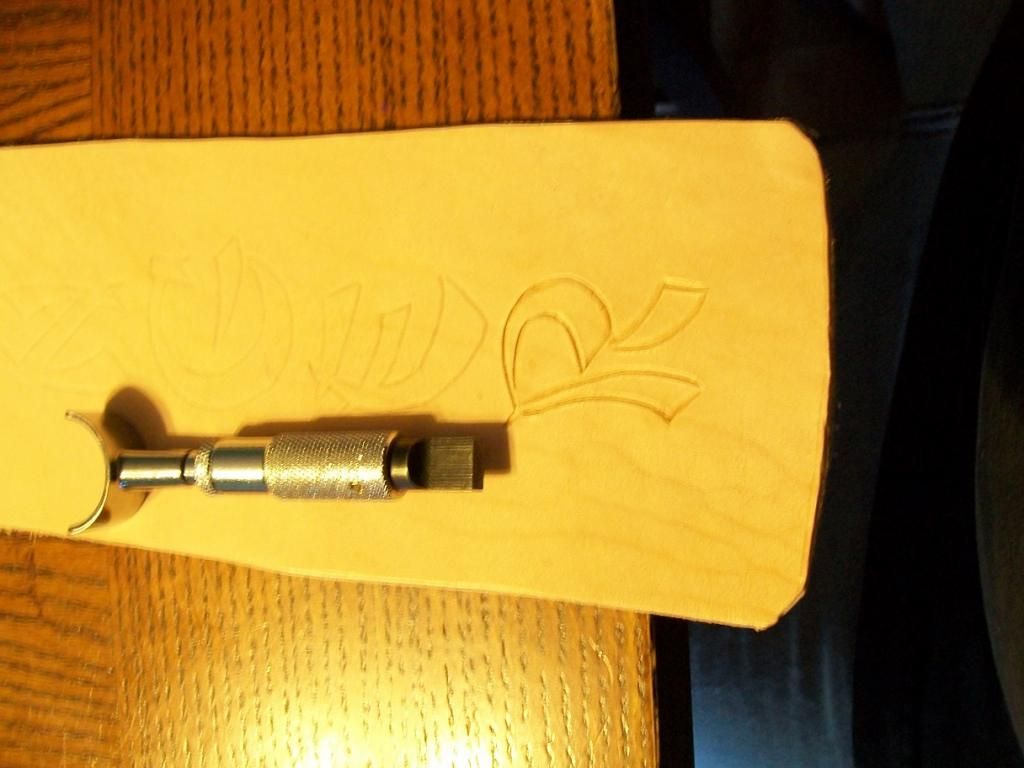
 Ok I have laid out my tools here for you to see I have swivel knife a few bevel tools and a background tool a small flat head screw driver and ball peen hammer lots use a mallet but the tiny hammer was a gift and I like it.  The lighter is because I like a cigar with my coffee and has no bearing on the work. 


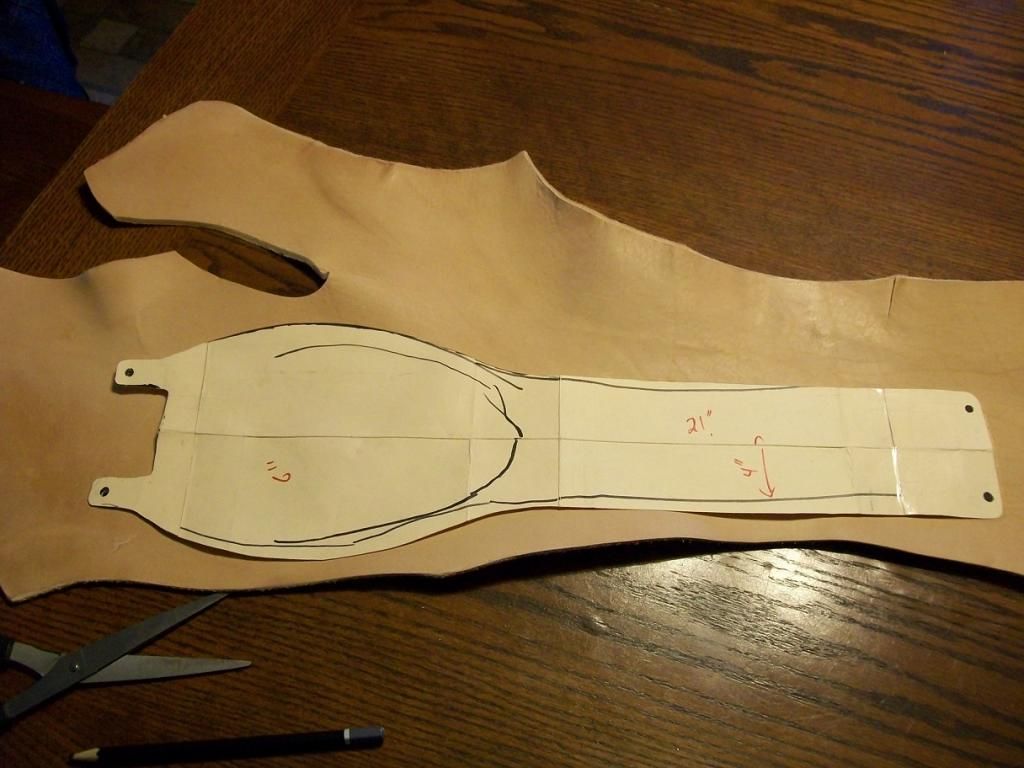
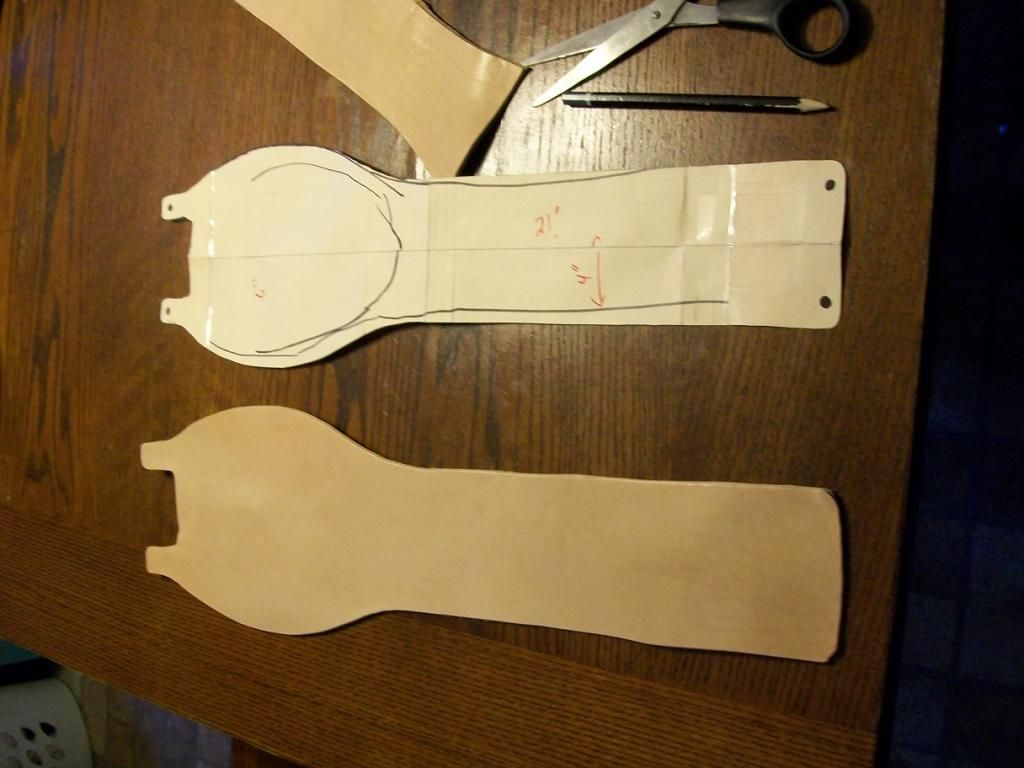
The first step is to look at the leather and find a good spot to work with that has no blemishes and is of the same thickness and texture.  When you do this lay the pattern on the leather and trace it with a pencil then  using very sharp scissors or shears depending on the thickness cut the leather out.

  
Step two. At this point I have the art work ready but it is really up to you what you use.  It is as simple as printing out a picture you like.  For this one I drew it up because I like to draw.  Lay your art on and tape it in place I like to use painter’s tape it is important you only tape on the back of the piece so it does not damage the front.  Now trace the picture pressing fairly hard.  You can use a stylus or I like a ball point pen that is out of ink.  This leaves an impression in the leather that you can work from. 


Step three is to remove the art and I give a quick trace of the art with a pencil and then wet the leather in cool water.  It is important that you know once wet leather is very easy to tool you can leave a lasting mark with a finger nail so all rings watches and such off to avoid accidental damage.  Now trace the design with the swivel knife applying pressure and following the pattern. 


Step four we take our bevel tool and hammer and place it in the trench we made with the knife and tap the tool this will create a nice beveled edge to the design.
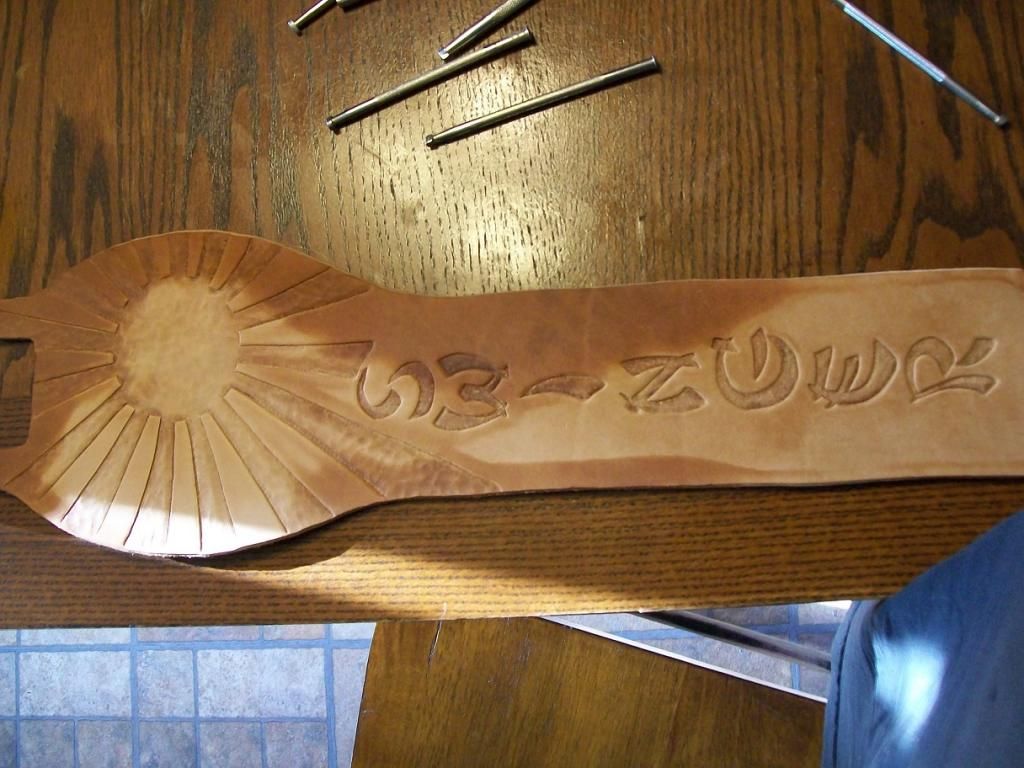
Now that the edge is beveled you take the background tool and in the same manner as the bevel tool you begin to fill in the space over lapping the tool marks.  On this project I dropped the design in but could have left it and tapped the rest in it is really a personal choice and it is important to note not all designs will require this step.
Once this is done we punch the lace holes I like to lay mine out by hand but they can be measured and spaced with a ruler also. 
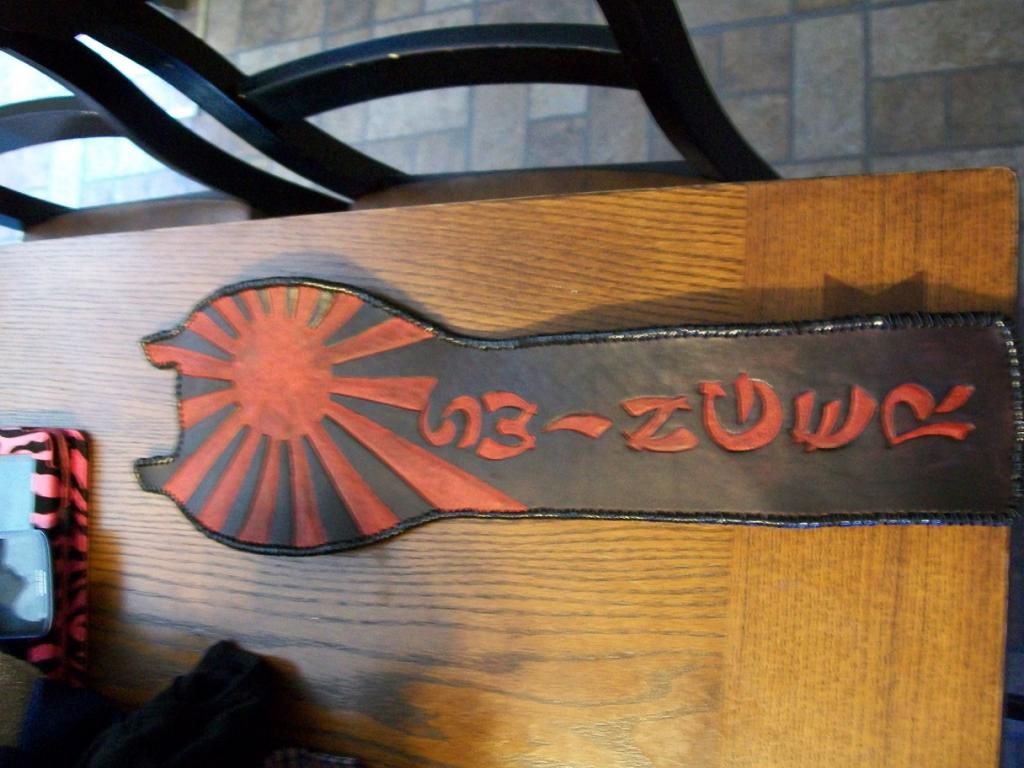
On to the dye.  I prefer to dye my lightest colors first and work out from there for instance the red then black it works well for me.  I apply the dye or stain with an assortment of paint brushes based on the size of part I am painting.  Once you have done this and it dries I like to add a little leather conditioner Tandy makes a good 4 in 1 also neatsfoot oil works well.
Now get your lace and go to town I will do an entry later and show some different methods but that is a discussion all its own.  She is tooled laced conditioned and bam she is done. Slap her on and ride that thing.  

Saturday, December 6, 2014

December Garage Girl

This month the Garage Gils say Merry Christmas pin up art style.


Monday, November 24, 2014

Monday, October 27, 2014

Builder Spotlight Jimmy ( Copperheadz)


           Welcome back guys and gals to another builder spot light.  This month it is my pleasure to bring you Jimmy Roberts or to all those floating around the HondaChopper.com forum Copperheadz.  First I would like to thank Jimmy for taking the time to do this interview.  He is a standup guy and makes some of the nicest parts out there for the SOHC Honda.  If you are building one of these bikes take a look at his stuff you will not regret it.  Now kick back relax and enjoy.

Wench Junkies: How did you first get into wrenching?

Jimmy:  I was raised on a farm  and like most folks, we repaired the equipment ourselves. Back in the day, there was better stuff in the junkyard than what we were using on the farm.  So you learn fast on how to fix things. Had a couple old dirt track cars back in the early 70's, now that was fun.  Street division my man. Knock the windows out, install the roll cage and we're off to the races. There was always something to do to those cars, engine, rear end you name it, it happened. Never did win a race, that was the times.

WJ: Man I bet that was a blast.  Knowing that you have a background not only in agriculture but also racing explains a lot about you attention to quality and precision when you are building parts as well as motorcycles.  Speaking of motorcycles when did I make the first step towards motorcycles?

J:  My friend down the road had just bought his first bike, it was a 1965 Honda 50 WHOOO HOOO we went everywhere on that bike. I remember he only had one helmet, we found an old plastic football helmet took the face guard off & that's what I used.  We never did get pulled over by the pokie.  3 or 4 years down the road, there was a family that moved in the area from Fort Wayne, Ind. THOSE GUY'S HAD CHOPPER's,  panhead & shovelhead Harley's. WOW!!!  15 feet long, well, that's what they looked to me.  Another guy up the road had a Honda cb750 (Hammer) Jeff Henley. RIP.  They took that 750 apart, bought a hardtail frame, Harley rear tire, dragpipes & raked her out. That was the badness thing that ever hit the ground. Love at first sight.

WJ:  Sounds to me like you got bit by the bug the same way a lot of us did.  I have often wondered if we took a poll how many of us got started building because of that one super cool guy.  Bad part is once that building bug bites you are done good times and bad. On that line of thought what about motorcycles do you find most rewarding?       

J:  Most rewarding for me is to build a nice chop & see the end results. You've got to have a vision & make it happen.  My first build was the Tennessee Moonshiner.

WJ:  That is an awesome build that showcases what is possible when to really decide to make it happen but you know I gotta ask when things are going smoothly what you find the most challenging.

J:  The most challenging thing to me are those cb750 Carbs, I see & read were guy's take them apart 2 or 3 times a week to get them right & I've never had a set apart. Took the bowls off, set the floats & cleaned the jets that's about as far as I'll go. May be a phobia for me.

WJ: I think it is a phobia for more than just you lol.  I know when I got started on my build man they scared me.  I can tell you if we do a bit of looking the two most common builder phobias have to be carbs and wiring.  It is worth it in the end though when take that first ride.  Looking back over all your builds which bike has been your favorite?

J: The Denver’s chop is the favorite as of now. My son Jimmy Jr. did the paint & body work so it was a father son thing. As for a hard tail & a long springer. This chop rides like a caddy. Would never build another chop with a 40 degree or better rake without a springer. It’s the difference between daylight & dark.

WJ:  Man I followed that whole build and it is unreal.  Anyone that wants to should head over to the HC.com builders section and take a look.  Electrics box alone is enough to blow a gear heads mind.  As I said before you not only build these bikes you make a lot of the parts yourself. So in order to make these bikes happen what is the tool in your shop you can’t live without?

J: I have a couple tools that I couldn't do without. One is a Leblond 13" gearhead lathe & the other is a Bridgeport milling machine. These machines were made back in the 60's so I don't know how it would be using a new machine. If push came to shove, I'd keep the lathe.

WJ:  I will say on a side note since I am rocking several of your parts myself I am really glad you have those tools.  Now I think we can all look at your work and it speaks for its self.  You have done some truly incredible motorcycles.  What is one tip for the new guys that will make life easier as they get started?

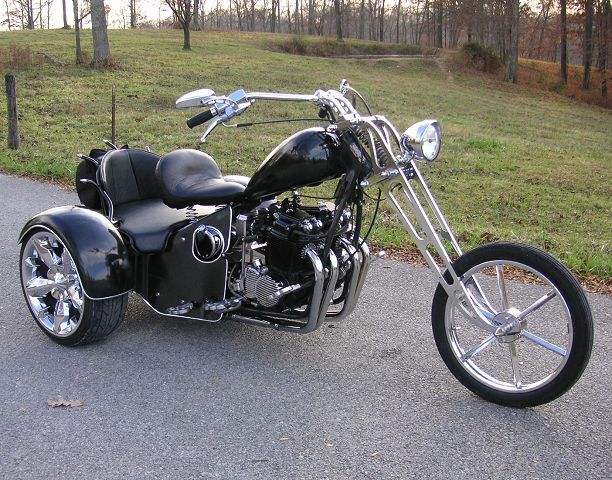
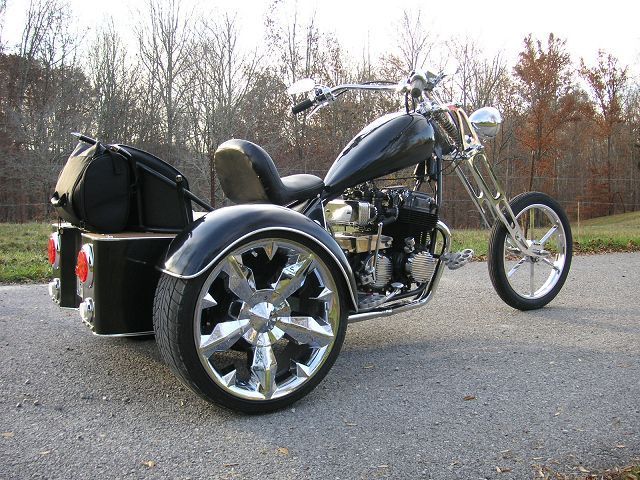
J:  A good tip for a newby or about anybody, is patience. I had to teach myself patience. When things went wrong or something didn't suit me, I'd go off.  Before I started building the Tennessee moonshiner, I made a commitment to myself that I would remain calm & finish the build, Yep, I had to walk away a few times & collect my thoughts but that's the first thing that I finished & was proud of. I was 50 years old before I owned my first bike, I believe that the family comes first & the toys later. I now have 3 bikes & 2 trikes, all are cb750 sohc. I like to collect the rare stuff.
 
WJ: Thanks again for your time.  I really appreciate it. 
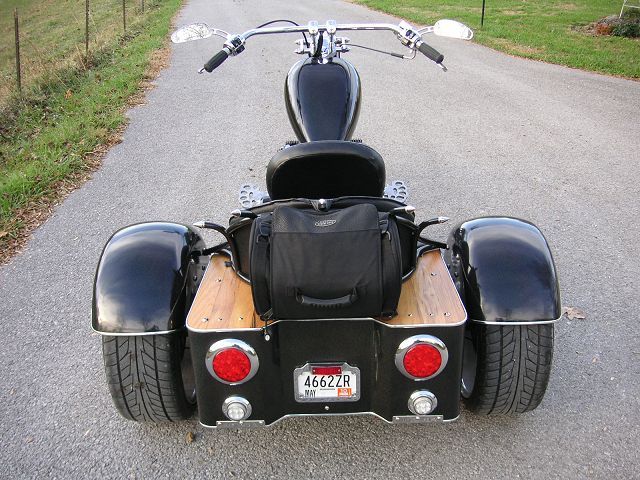
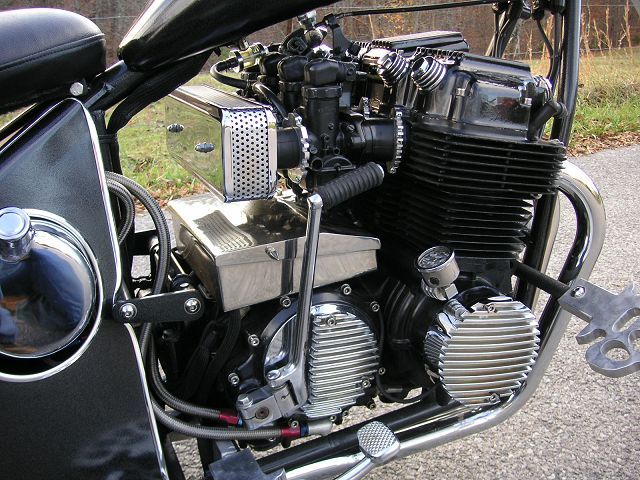
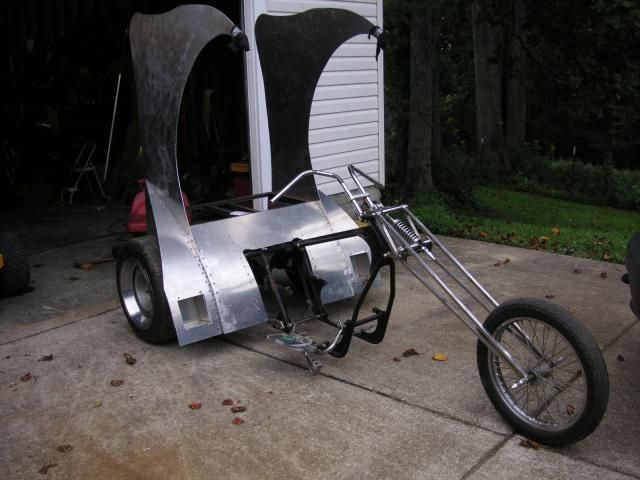
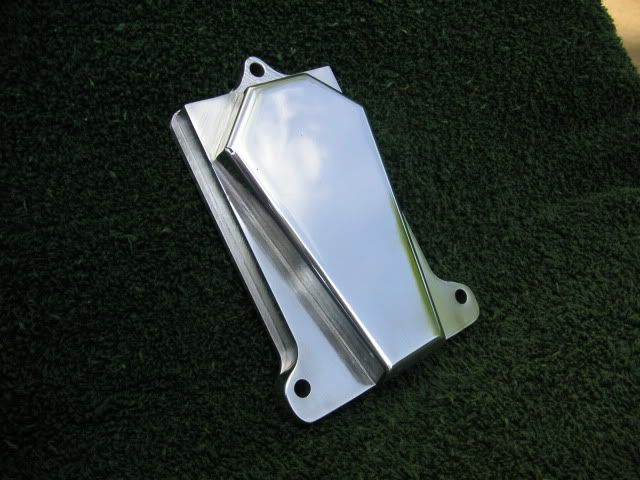
 Like I said before guys Jimmy is a standup guy.  His work is second to none.  I have been lucky enough to end up with several of his parts all I can say is wow.  If you need something for your sohc he makes give him a shout he is Copperheadz at Hondachopper.com and his email is miner230@yahoo.com.  I can promise you will not be unhappy with the parts.  Here are some pics of his builds and parts.


Denver's Build
1975 Santee with a Drouins supercharger
 1975 C&G with a turbo charger
Triple Trouble
Current build 1973 Trike

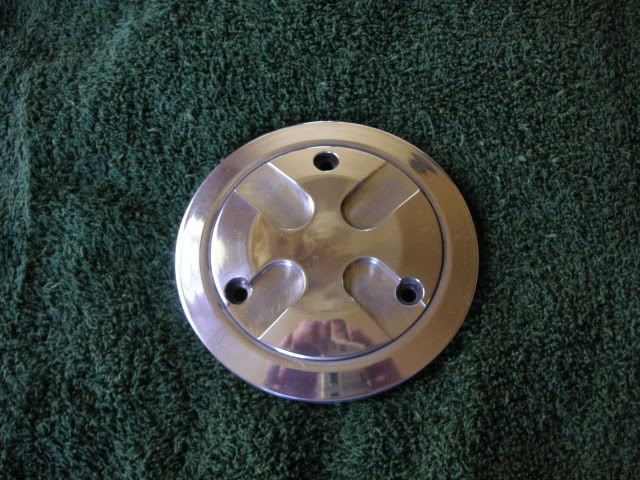
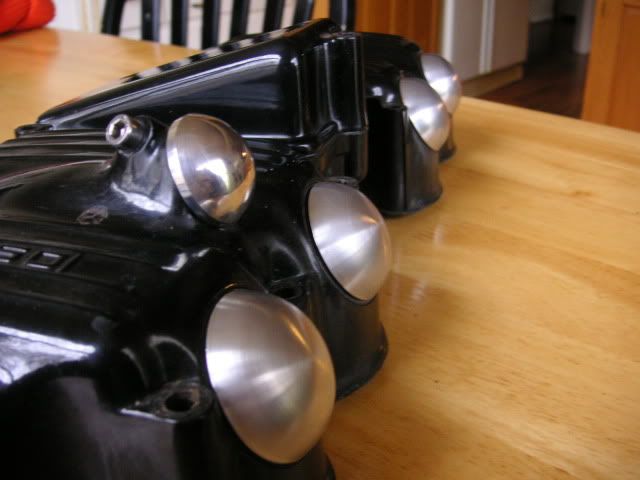
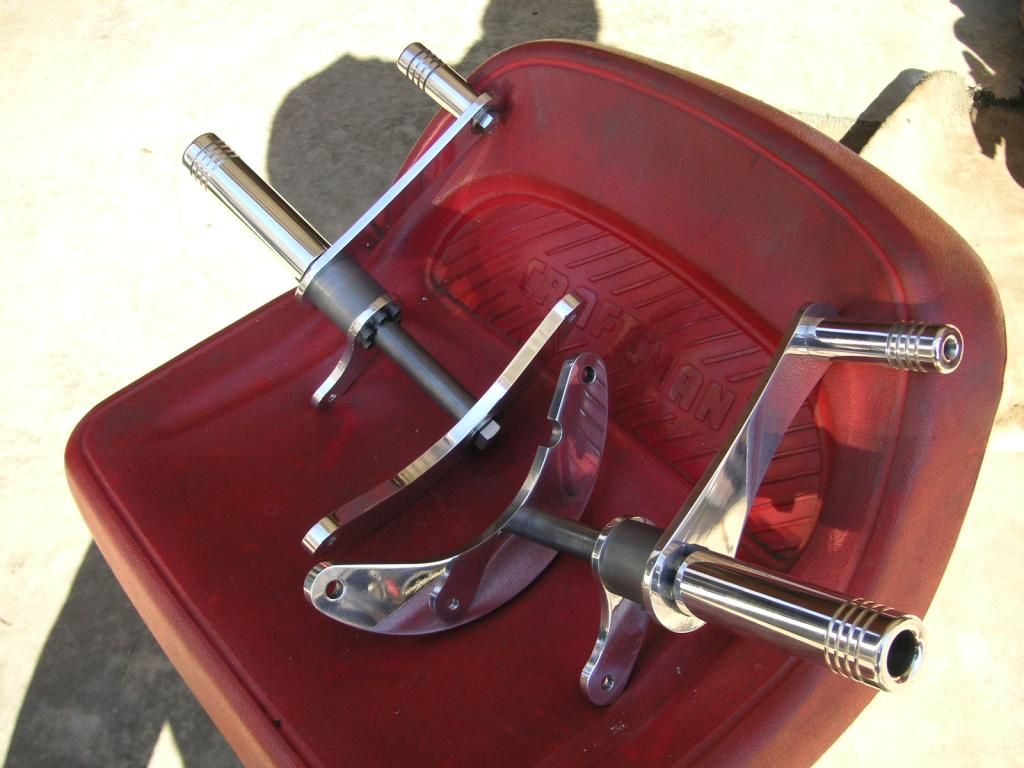
Cast your little eyes on these a few of the must have parts crafted by Jimmy.


Thursday, October 23, 2014

October's Garage Girl


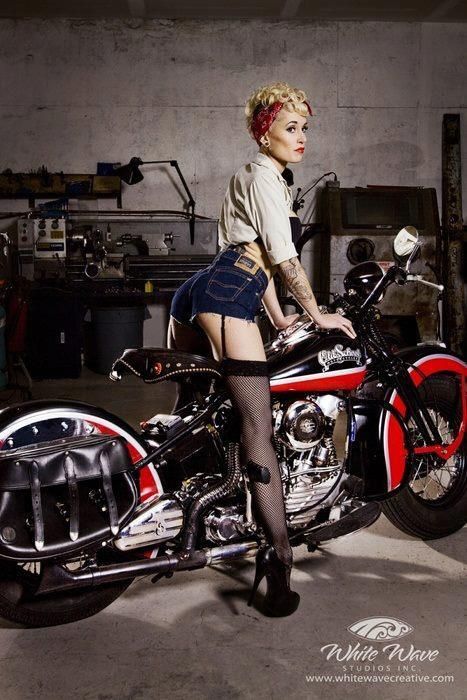
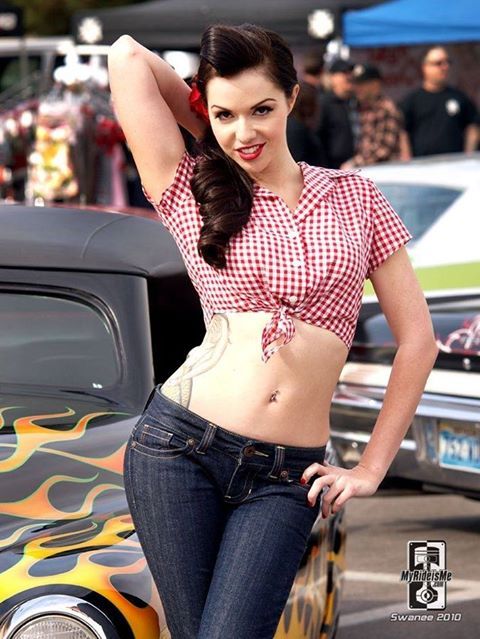
      This month’s Garage girl we salute the Rockabilly Pin Up.  In the last few years the Rockabilly movement has really gained some steam and as you can see that is not a bad thing.