Hello to all you wrench spinning grease monkeys out there in
cyber-land. I think we are all aware
that one of the biggest hurdles in any build is hitting the wall. Getting what I call builders block. This happens
for lots of reasons not the least of which is just flat out running short of
inspiration. See building anything a
bike a, a car, or hell even a coffee table is an exercise is an artistic expression. What you need to do this is the will
to create and the inspiration to drive that will. So I think in that line of thinking we can
all use a swift kick in the ass to knock the cobwebs loose. That kick today comes in the form of our
first builder’s profile.
As many know we are two guys that met on a site called HondaChopper.com. This place rocks I could go on and on but
that is a different story. Anyway, I am
or have been active on three forums over the years. HC.com, The Chopper Underground (another
must for the chop-o-hollics out there), and Deuces Wild, which caters to the
late model dohc Honda motors much the way HC.com caters to the sohc crew. During this time I have gotten to know
several people. Among the ones I have had the honor of getting to know is
Clifford or to the forum guys 23tbucket.
This cat is like the mad scientist of choppers, creating some of the
coolest rides you will see. In honor of
his motor building madness we have decided to make him our fist builder spot
light. I was able to send some questions
via cyber space deep into the frozen lands of Canada and get our north of the border
brethren to shoot a few answers back to us.
So just sit back relax and get inspired.
Wrench Junkies: I think it is important that people begin to
see the how all forms of building and wrenching play off each other. With that in mind how did you first get into
wrenching?
Clifford: Believe it
or not, I first started my working career as a carpenter and later as a cabinet
maker. My Grandfather was a carpenter...my father was a carpenter...and two of
my Uncles were carpenters and had a construction company that I worked for when
I left school. I did carpentry work for several different companies until
Proctor & Gamble build a big pulp mill close by. I hired on and first
started working in their welding shop, then went on to repairing machinery. I
spent 8 years as a Millwright for them. Then the oil boom hit our region back
in the 80's...got hired on as a Millwright repairing gas compressors and
engines for several different companies. During my time fixing engines, I also
went ahead and got my Heavy Duty Mechanic's license.
I am a licensed Journeyman in 4 different trades:
1: Journeyman
Carpenter with Interprovincial Red Seal.
2: Journeyman
Cabinetmaker
3: Journeyman
Millwright with Interprovincial Red Seal
4: Journeyman
Heavy Duty Mechanic with Interprovincial Red Seal
Each Journeyman certificate takes four years of
apprenticeship. To get Red Seal certification requires another separate final
test. The Red Seal would be similar to a teaching degree in the USA.
Junkies: All I can say is wow. Any one of those accomplishments is enough to
make anyone proud. When did you make the first step towards motorcycles?
Cliff: I got my first
motorcycle in 1964. I was just 14 years old. I have always had a bike of some
kind since. I was riding a Honda CB750 back and forth to the Proctor &
Gamble Pulp Mill for a couple of years, until I met and married my wife. In the
winter I would car pool. The 750 got sold and an old Ford was purchased
instead. I didn't do any custom bike stuff until just a few years
ago.....raising a family takes all of one’s money and effort. Once my children
were grown up and on their own, we (myself and wife of 40 years) seemed to have
a bit more money left over each payday and way more spare time. I love internal
combustion engines and I like to keep busy with things, so a jump to building
bikes was inevitable.
Junkies: I think lots
of guys out there can relate to your story.
Many of us are raising families now.
I think one of the important things to realize here is that it is never too
late to pursue an area of interest. As
long as the passion is there chase that dream. What do I find the most rewarding about
motorcycles and wrenching in general?
Cliff: I think, just
the building part of the bike gives me the most rewards. 2nd would be the first
time you sit back with a coffee and a smoke and carefully study the freshly
painted and clean build. 3rd would be the very first time the engine fires up
and continues to run. 4th would be the first time the build is taken out on the
blacktop. This is also the most concerning part of any build. You wonder if
this was tightened...did I miss this step...what is that sound...what is that
vibration...I am sure you know what I mean.
Junkies: What was the most challenging?
Cliff: I would have
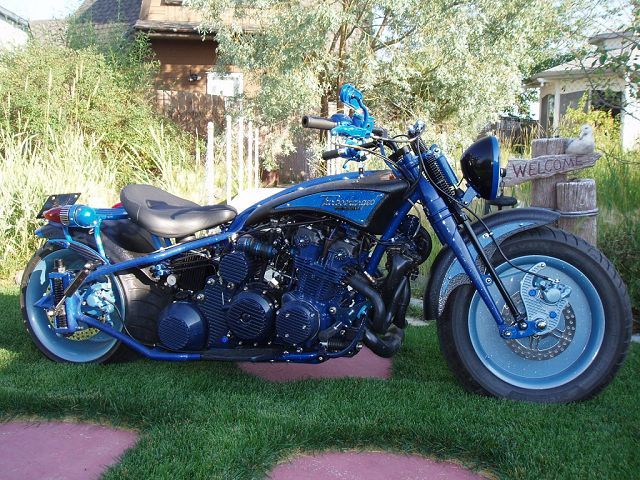
to say doing the first electronic fuel injection on the Blue Turbocharged bike.
I waited over a year until the Microsquirt ECM was perfected and released to
the public. When I finally got the package, I looked all them wires and thought
to myself "there is no way", but one wire at a time (like eating an
elephant) I had the bike wired up in one short weekend. Then came the
programming......believe me, it was very difficult...but I stumbled my way
through the programming....managed to get the engine
started....then got the engine to idle smooth...then the rest seemed a bit
easier. Having a turbocharger on my first electronic fuel injected engine added
a lot of extra programming stuff...a natural aspirated engine is way easier to
program.
Junkies: You have some very impressive builds to say the least
I gotta ask which is your favorite bike?
Cliff: The Blue
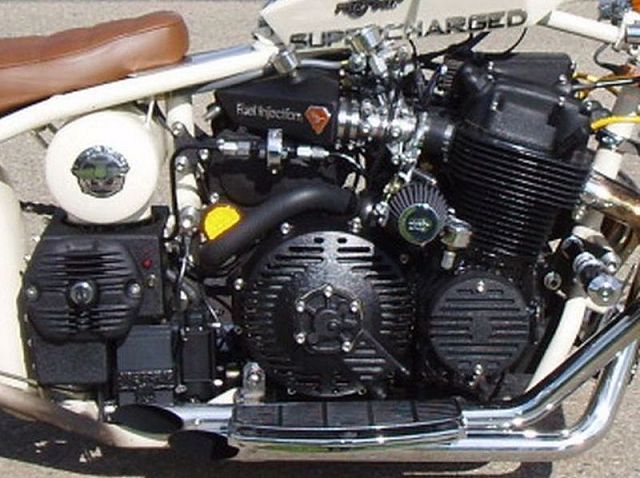
Turbocharged, Fuel Injected DOHC 750 bike is my favorite. It kicks some serious
ass when the boost comes on. The Supercharged, Fuel Injected SOHC750 probably
would out-do the DOHC in a quarter mile race...it's just that the power is
always there with a supercharger rather than giving you the 'seat of the pants'
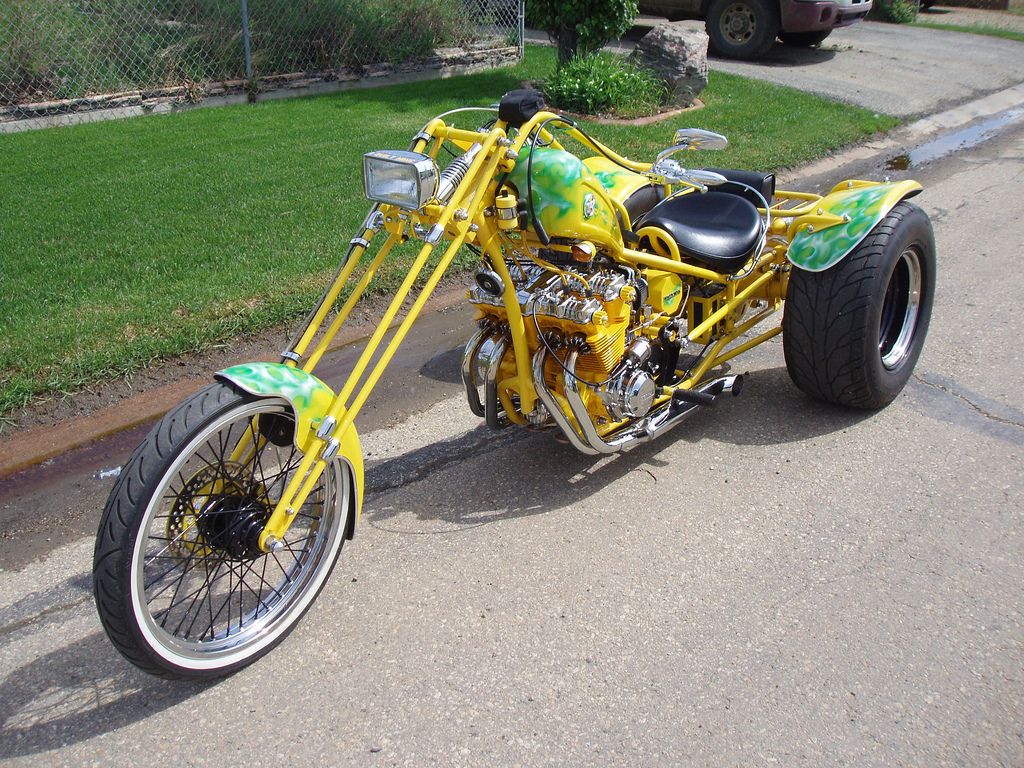
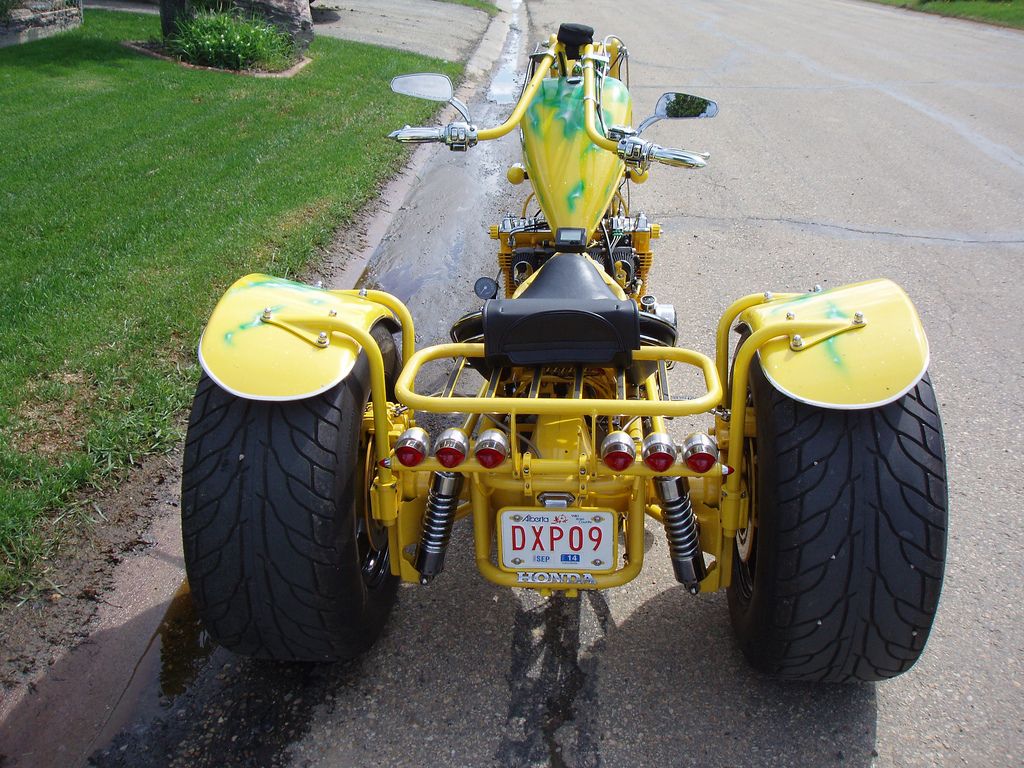
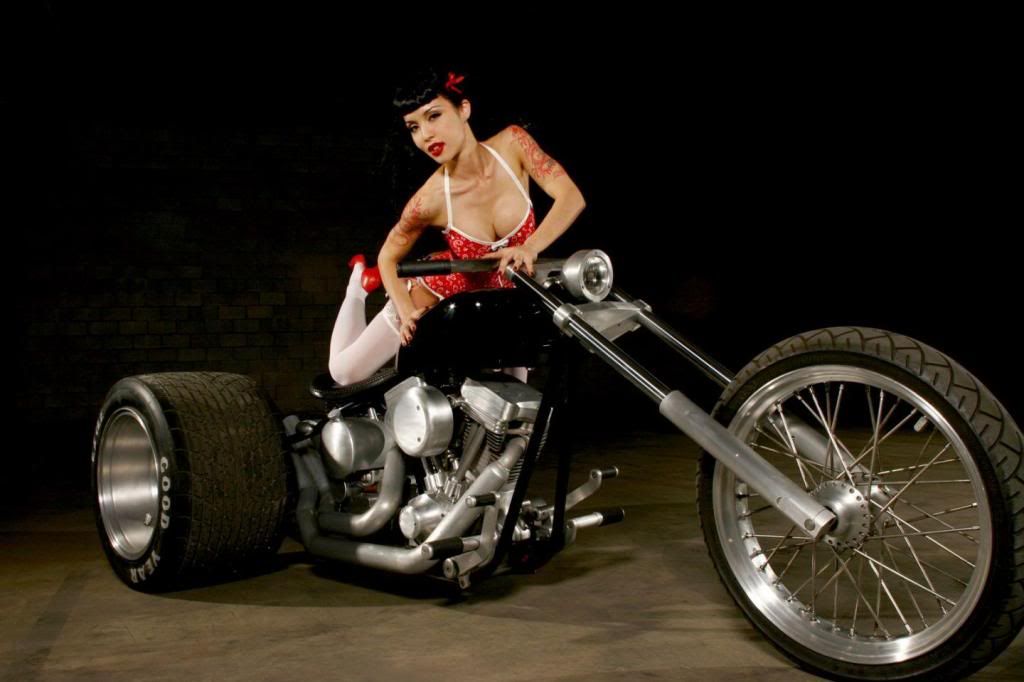
rush that a turbocharger does. I do like the trike, but find it hard on the
arms on a long haul.....you are always fighting with the crown in the road. The
trike gathers quite the crowd.....well, I guess all my bikes do, but the trike
more-so....there is just something about trikes.....
Junkies: One of our goals here is to inspire and
inform. Meaning give people that push to
start something new and at the same time perhaps in part small bits of
knowledge that will help along the way. Considering that from the perspective
of a seasoned mechanic and builder what would you tell someone just getting
into this are the five tools you gotta have?
(Assuming they have the basics covered ratchets, sockets,
screw drivers, etc.)
Cliff: For myself
the first would be a machine lathe...second would be a milling machine. I
bought myself a small lathe and mill-drill many, years ago.....they have paid
for themselves many, many times over. Third tool(s) I wouldn't give up are the
several small angle grinders I use daily. A person could get by with one, but I
like to keep zip blades for aluminum in one, zip blades for steel in another,
sanding disc in another, flapper wheel in another, grinder in another etc. etc.
Forth would be a tossup between my sanders. I have a
12" round dual plate sander, 1" wide belt sander/grinder, and an
oscillating sander with drums from 1/2" to 4". Fifth tool is a tossup
again between my four different welders. Oxyacetylene, 220v stick, 220v tig,
and 110v mig. I got to add a sixth one in here...work tables.....I have several
strong work tables...all built to the same height...all with casters. It is so nice
to be able to shift tables around.
Another thing a good working place should have is good lighting.....and
a partridge in a pear tree!!!
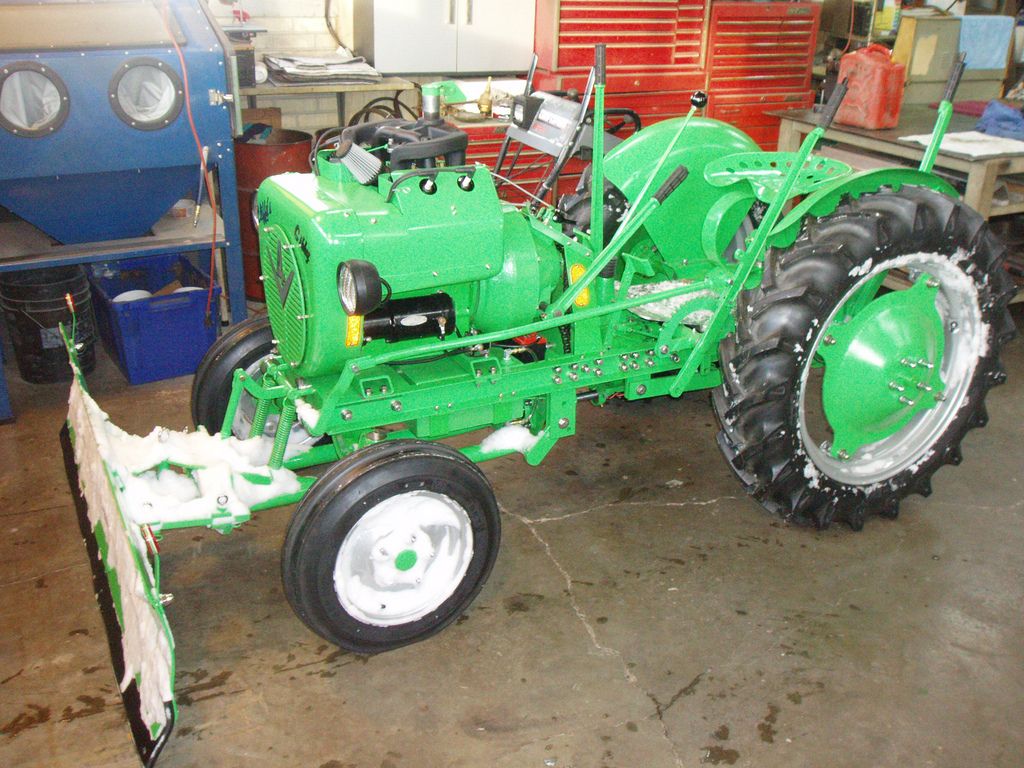
I would like to say thank you to Cliff for taking the time
to answer our questions. Below are some
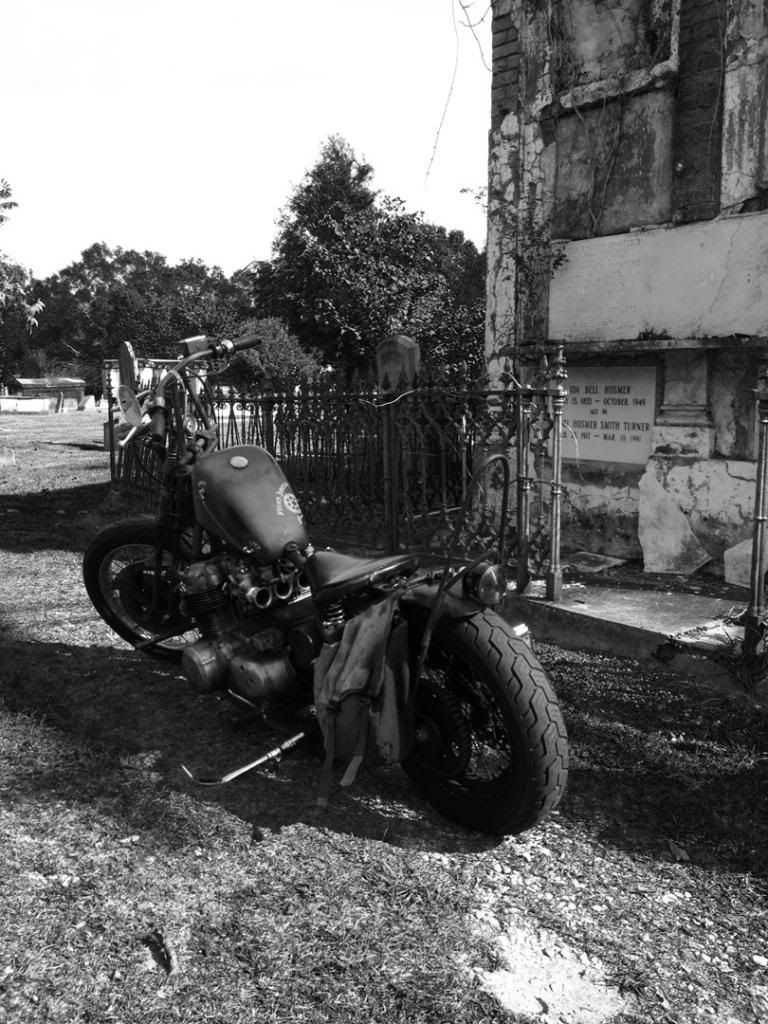
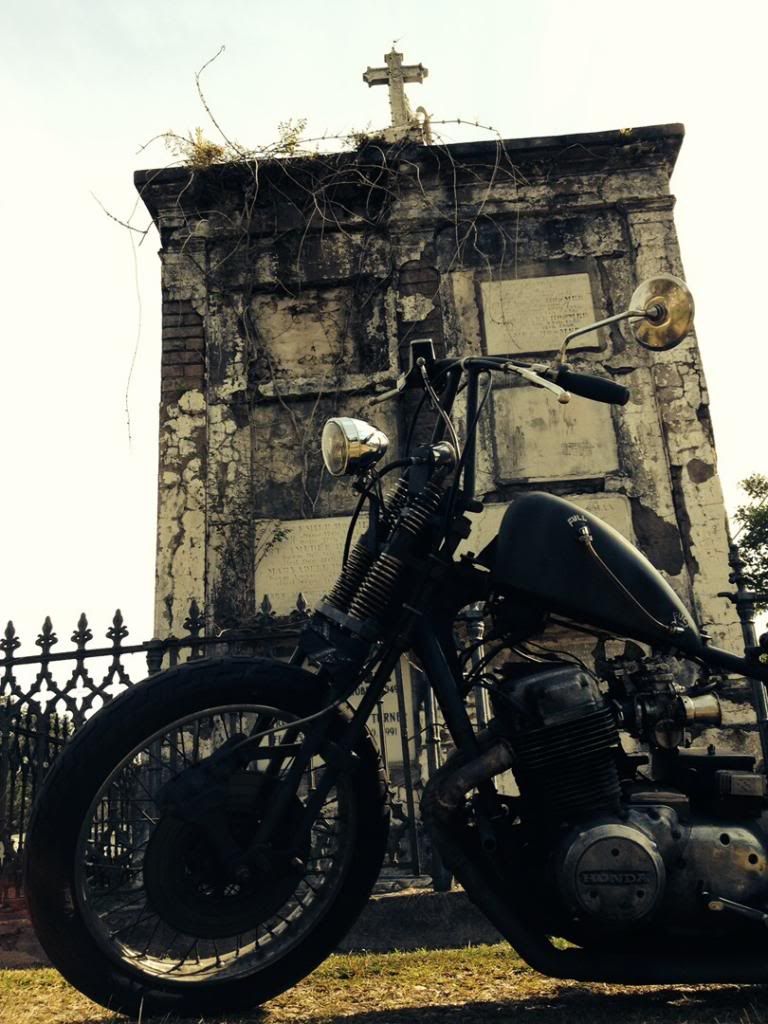
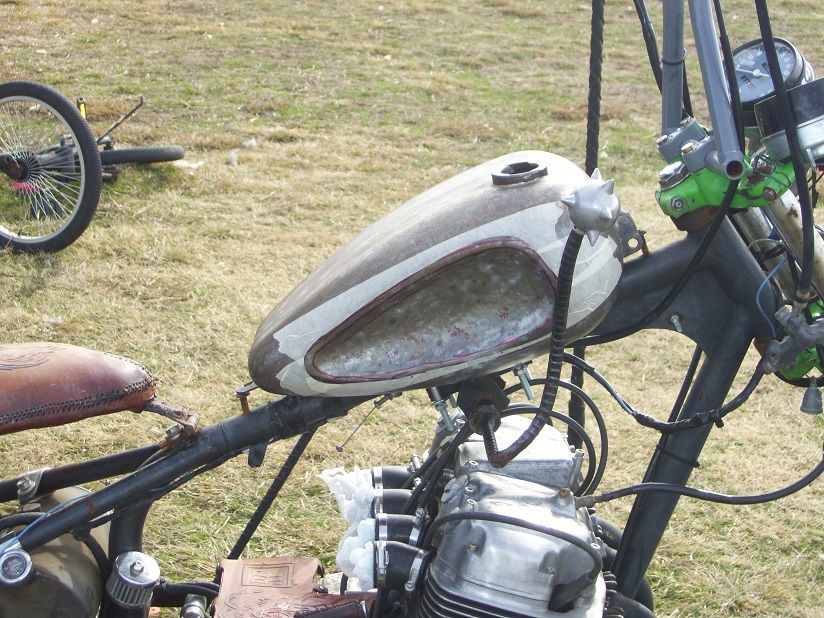
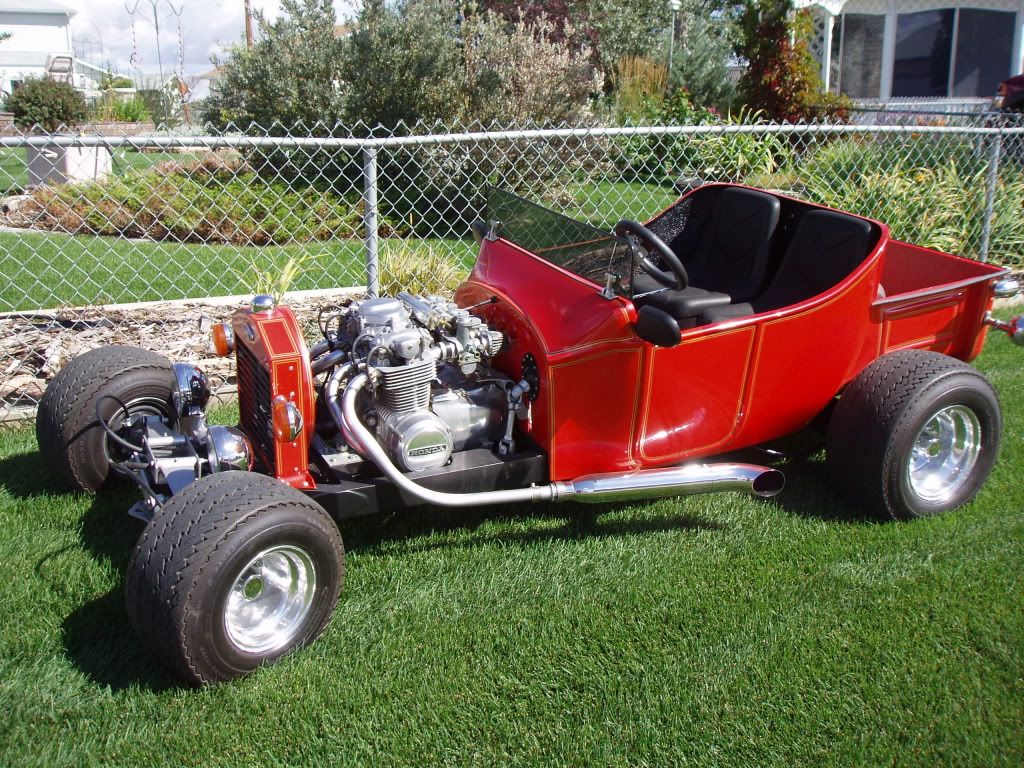
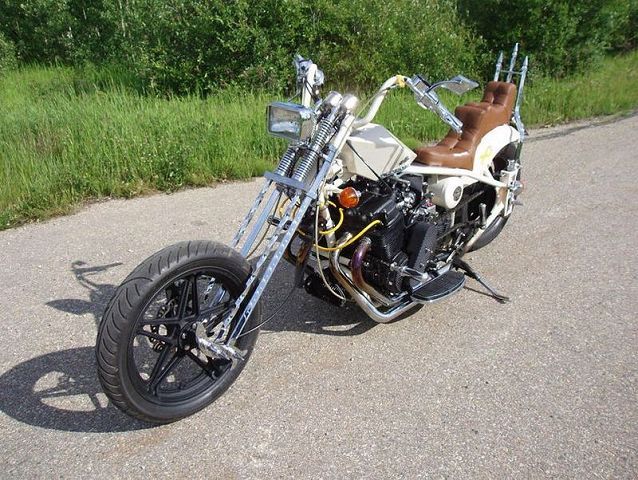
pictures of a few of Cliffs Rides and Restorations.
Till next time keep chasing those dreams Wizard.