Hello to all you grease cover gear heads out there across
our fine but frigid nation. In keeping
in line with our hands on tech I decided to document my latest project. Now I think we can all safely say that a
dished in gas tank is pretty cool. They
have been around for a long time and found resurgence when Indian Larry
featured them on some of his iconic biker build off bikes. It is really one of the easier things to
accomplish and there are a few ways to go about it. One is to cut the sides out and flip them
right to left weld em back and there it is.
The other way and the one I chose was to hand hammer in the sides. This in and of itself can be done in several
ways this is just mine. I need to start
by saying also that this can be done with crisp lines or a more gentle rounded
transition. I wanted the more curved and
round look and I will say also that was not as easy as it sounds it takes a lot
of patience to make sure that rounded edge stays round particularly in the
corners.
So first things first I started with a single cap mustang
style tank. Pretty much one of the
standard issue chopper tanks out there.
The actual process would be much the same if you were doing this or if
you wanted to do something like knee dents in a café tank.
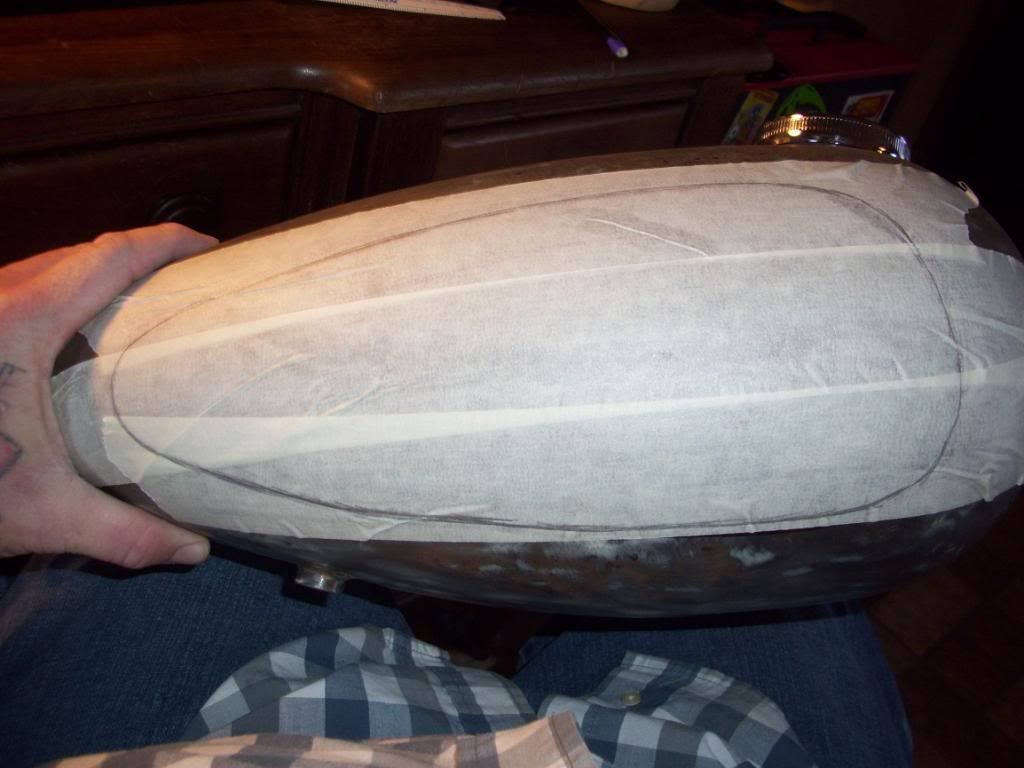
I start by covering one side of my tank in painters masking
tape be sure you overlap the pieces this is important later and draw out my
desired shape. I go through a few
sketches in pencil then trace my final design in sharpie.
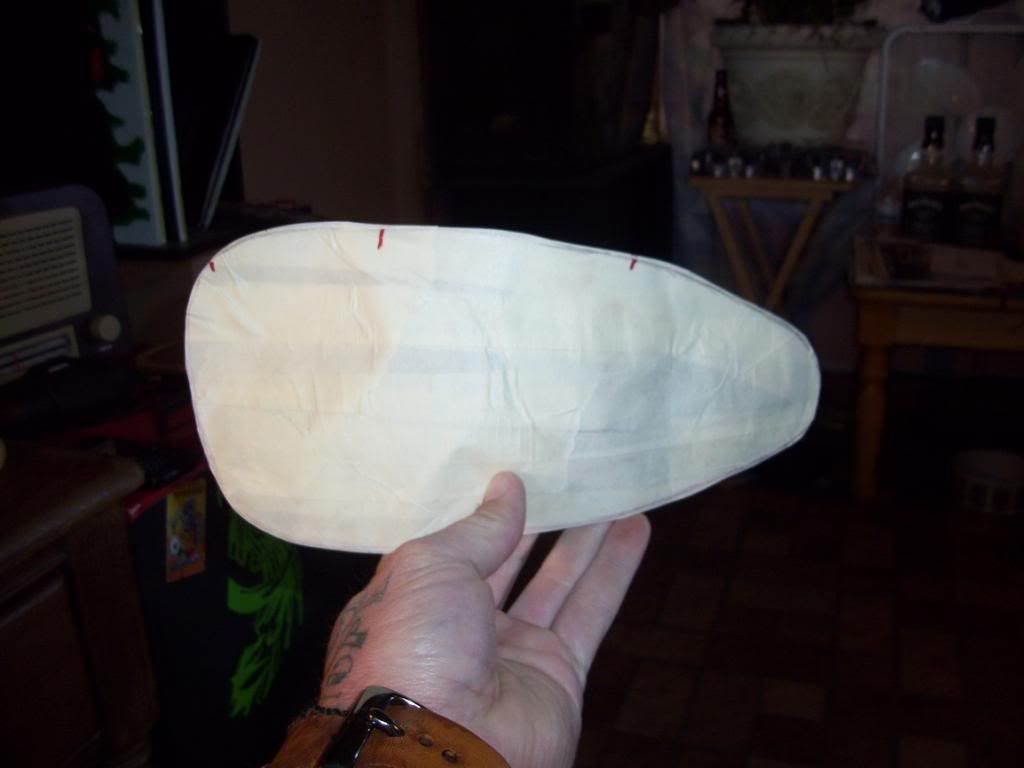
Once this step is done cut the shape out with a razor
knife. Since we made sure to overlap we
can now remove it in one solid piece and presto we have the template for the
other side.
At this point trace the
inside edge of the original masked side so you have a good out line when the tape
is removed.
I take a soft measuring tape the kind your grandma used when
she was sewing and measure some key locations along the pattern. I like to measure form the tunnel and lay out
reference marks. This allows you to make
the corresponding marks on the opposite side and line up the pattern. Once all the marks are in place lay you
template on the tank and trace. Now both
sides are marked. Remove your tape and
head outside.
This next part is just what you would think start hammering
away. I start with a large rubber mallet
in the center and work my way out to the marks.
I like to do my finish work with a variety of ball peen hammers. Just take you time work slowly and use a firm
hand but don’t overdo it. You are
shaping a tank you are not the Mighty Thor defending Asgard. Pretty soon it will take shape. Then flip it over and do the same.
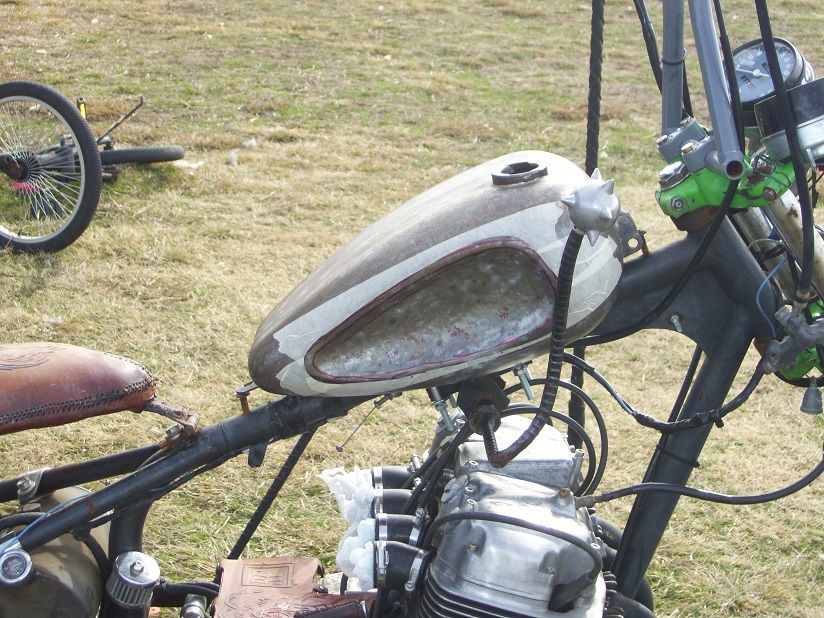
At this point you have a couple more options. You can some body filler and work the sides
and make it smooth as glass or as I chose you can leave the pings visible. I am going for a very gritty feel over all so
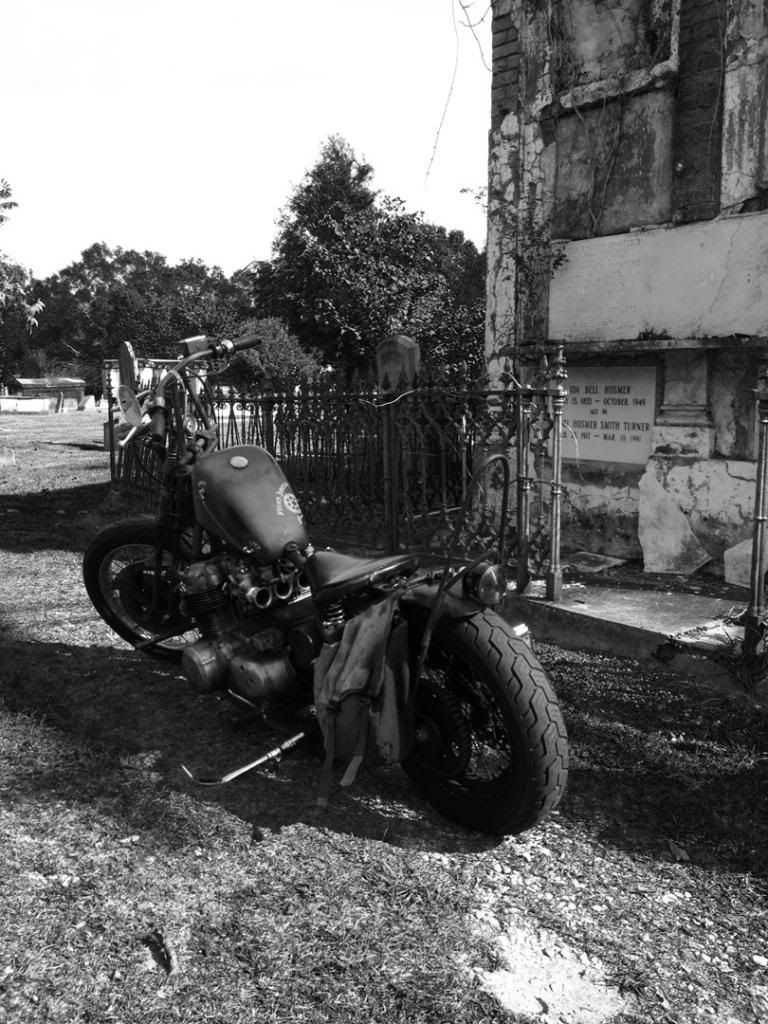
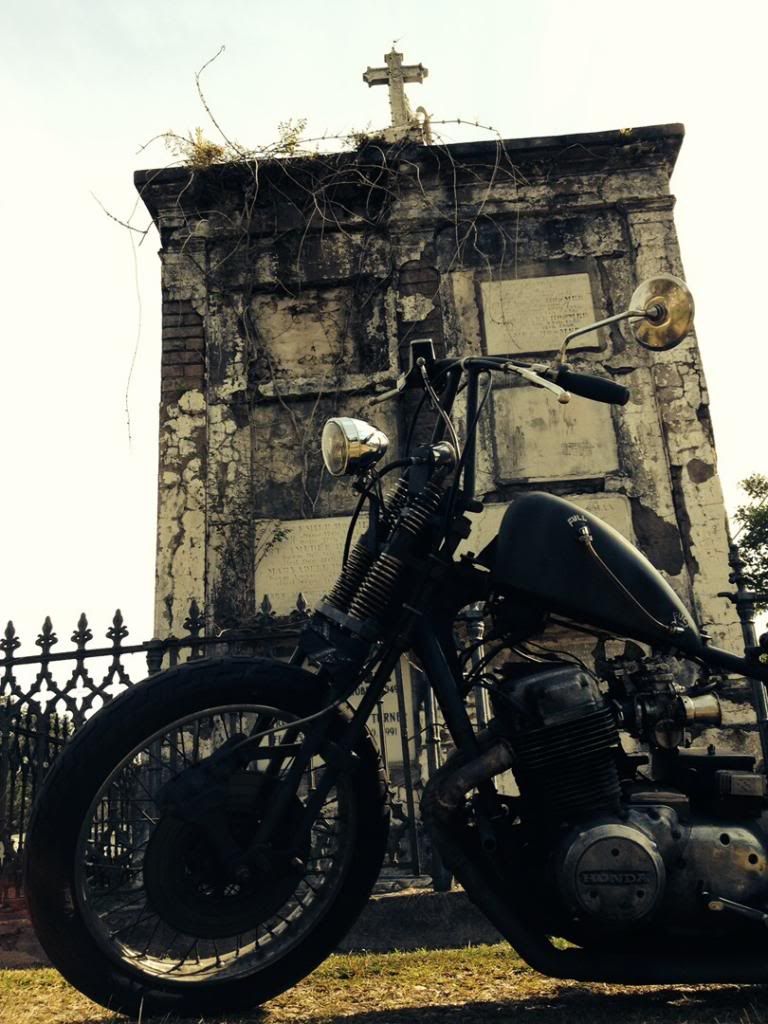
that works well for me. That’s it pop
the top on some rustoleum blast on a coat or ten and you are good to go. Here are a couple of shots of where mine is at the moment. It will be getting far more work ( think pinstripe) but this is the start of a patina look I am doing. Most of the time I am not a fake finish kinda guy however on this project I am using lots of old parts so I want to match things rather than mix them.
Remember any project is doable as long as you get up and do
it.
Till next time keep on keeping on Wizard.